
By Jason Rodriguez on

GameSpot may receive revenue from affiliate and advertising partnerships for sharing this content and from purchases through links.
Stellar Blade puts you in the shoes of tough heroine Eve, who’s out to eliminate the Naytiba threat. Still, no one ever said that you can’t take out your foes in style. You can do just that by finding many attires throughout the campaign. Here’s our guide on how to get all Eve nano suits and outfits in Stellar Blade. Likewise, please be reminded that this article contains spoilers.
How to get all nano suits and outfits in Stellar Blade
There are several ways to get all outfits and nano suits for Eve:
- A few are available by default or are given to you as part of the story.
- The vast majority are acquired through general exploration.
- Others are rewarded by completing quests or collectible tallies.
- Some can be readily equipped, while many others require polymer materials and must be crafted first via the Repair Console.
- Alternate colorways can be unlocked via New Game Plus.
Our Stellar Blade outfits and nano suits guide is arranged partially in terms of the region/location, and partially in chronological order or in keeping with the theme.
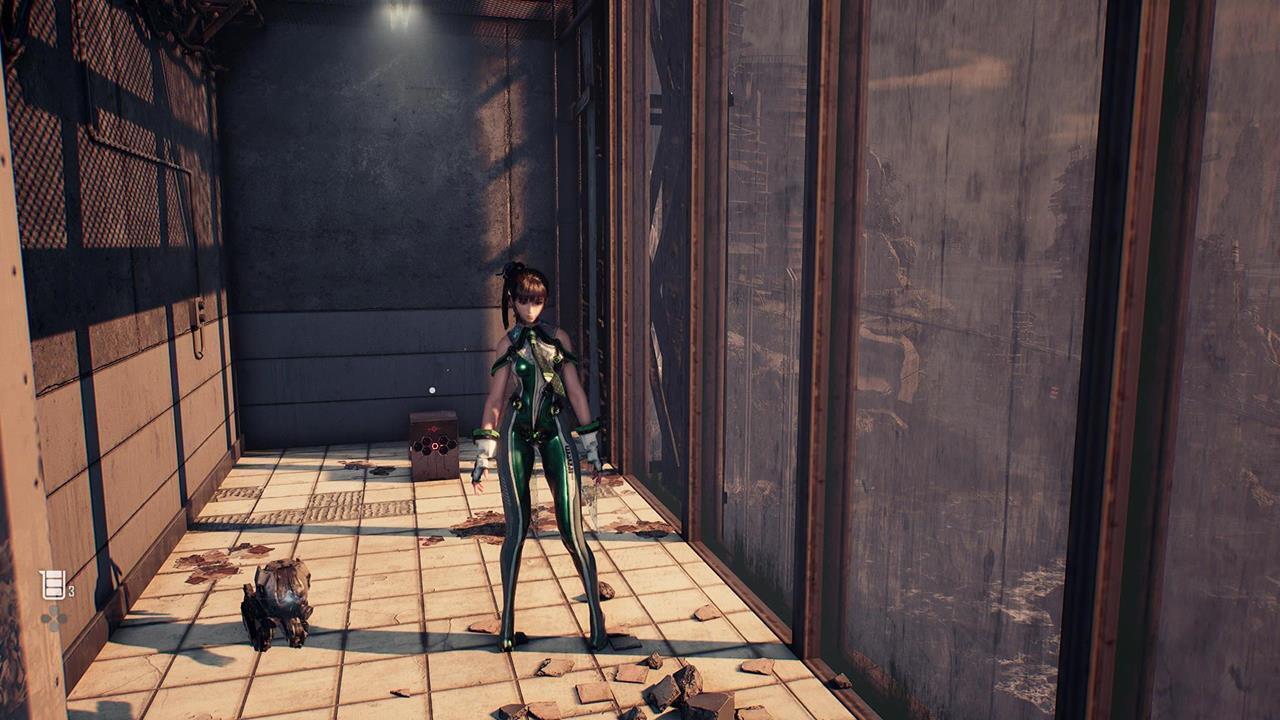
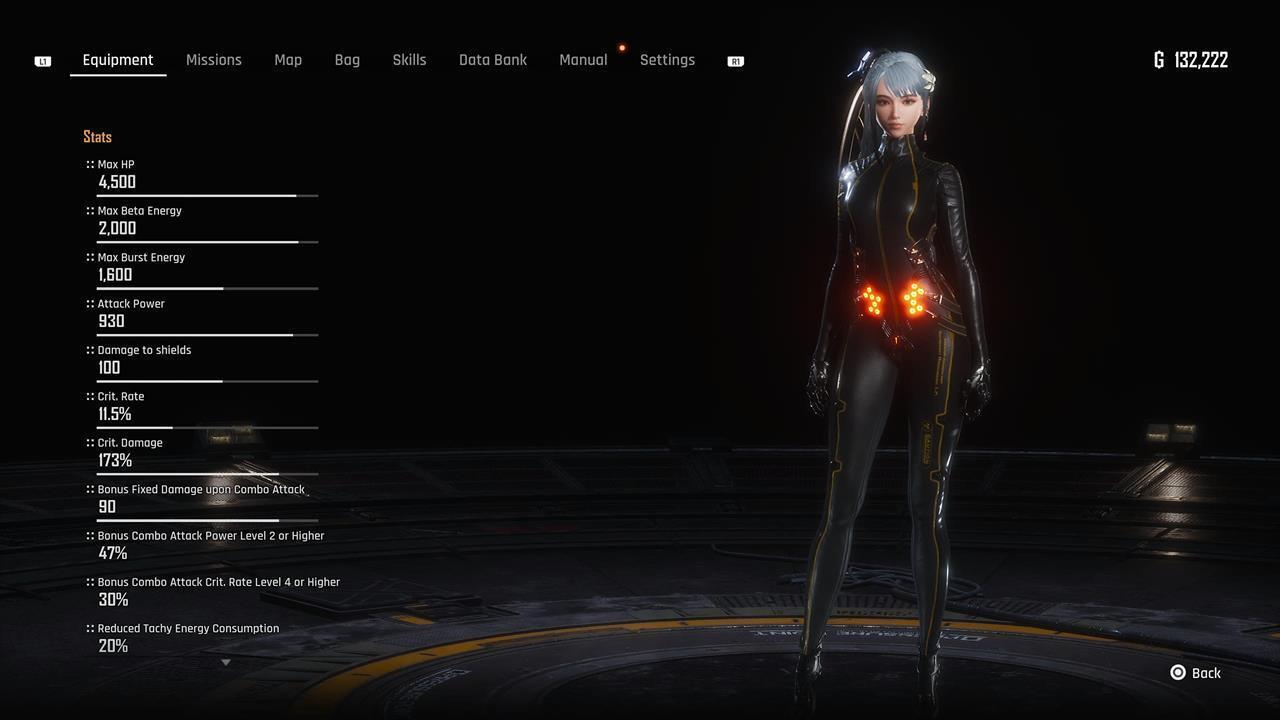
Planet Diving Suit (7th)
Location: Default – This is Eve’s default outfit in Stellar Blade.
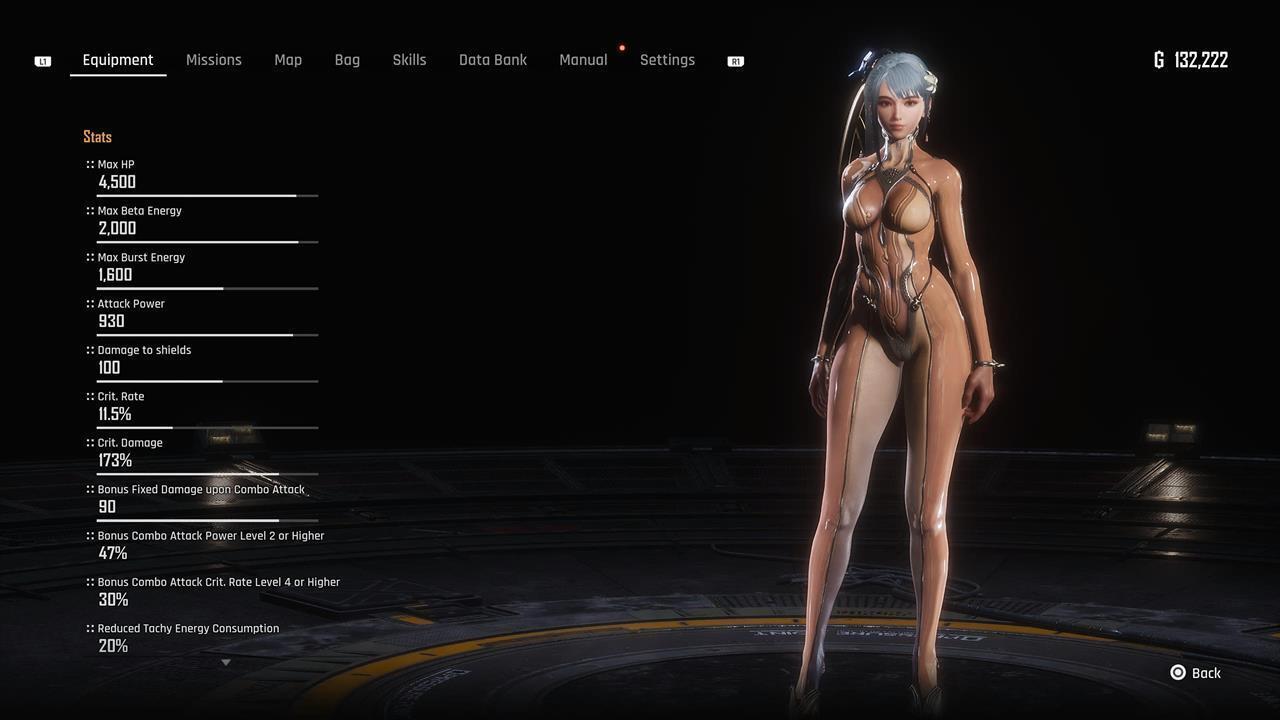
Skin Suit
Location: Default – To get the controversial Skin Suit in Stellar Blade, you just need to unequip the armor that Eve is wearing.
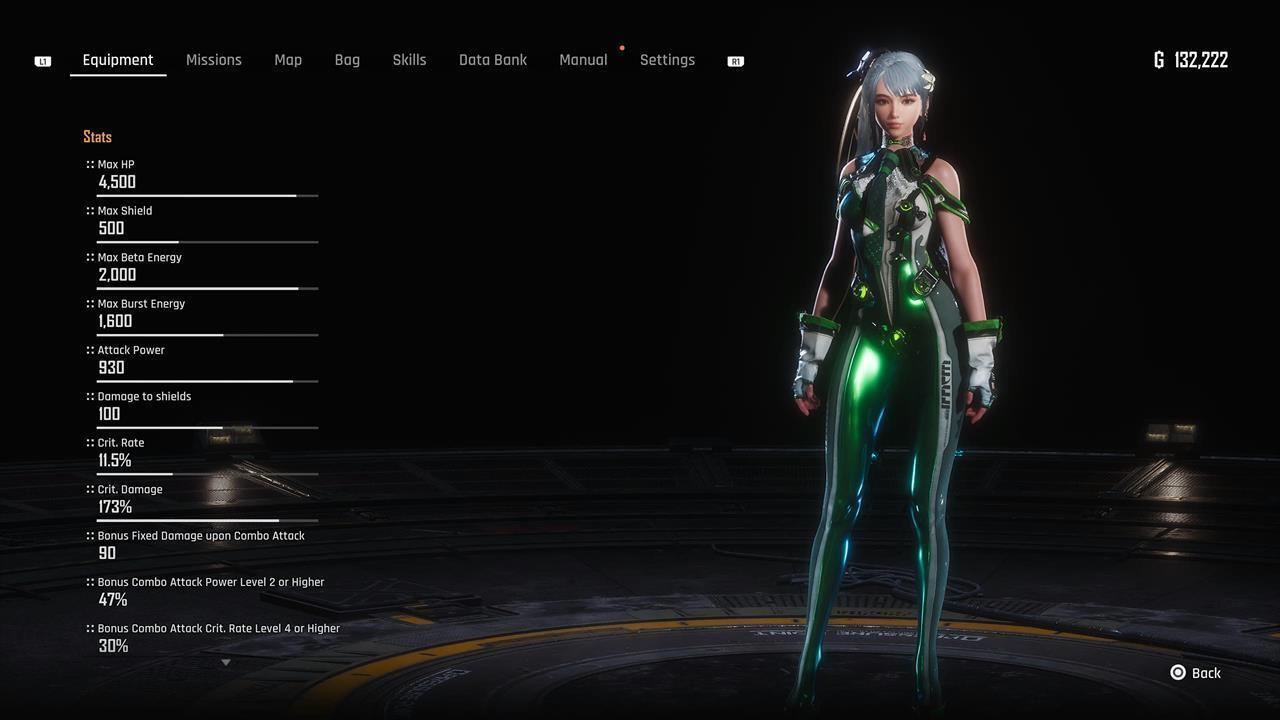
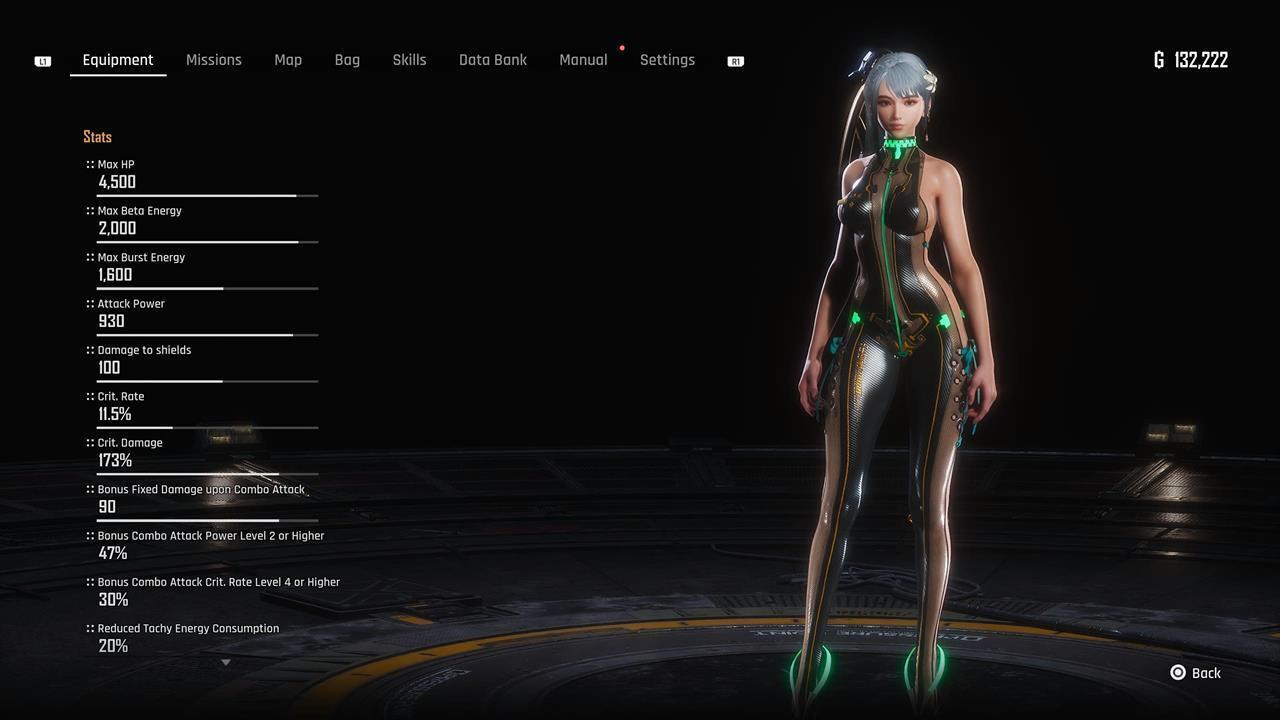
Planet Diving Suit (7th) V2
This is the design of the Planet Diving Suit (7th) V2.
Planet Diving Suit (7th) V2 location
Location: Eidos 7 – After riding the monorail in Eidos 7, head down the steps to find this crate.
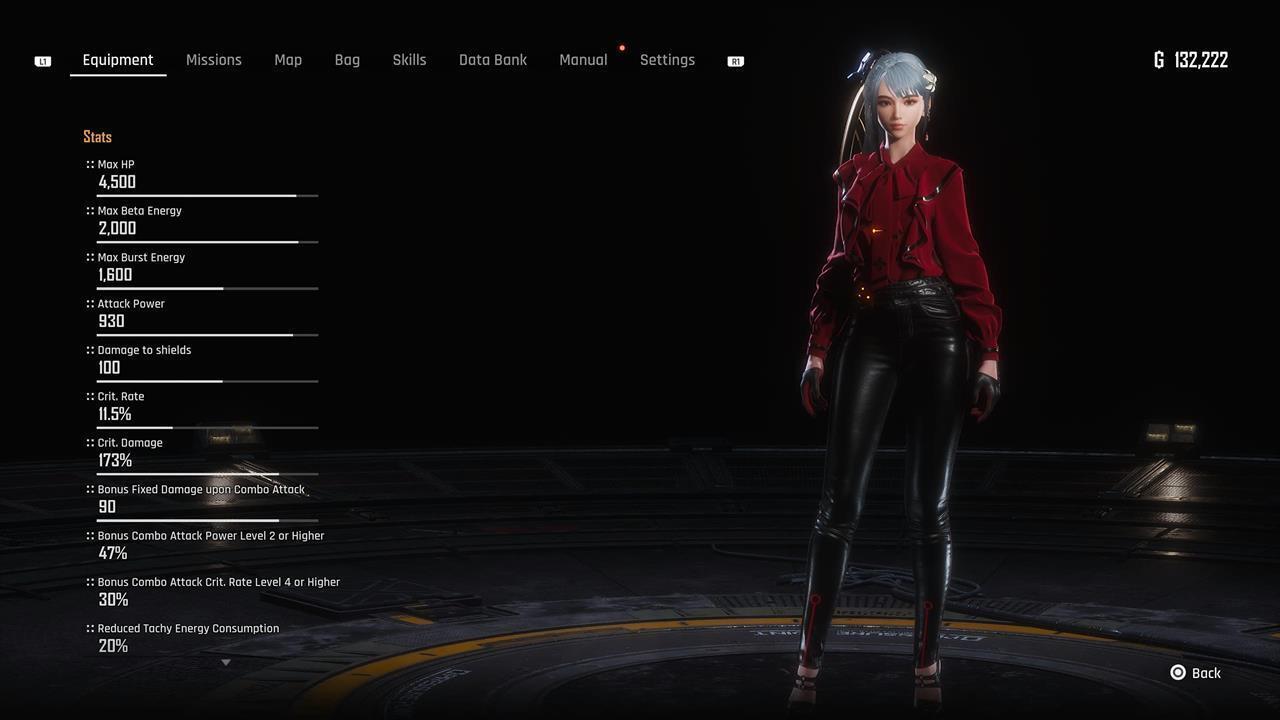
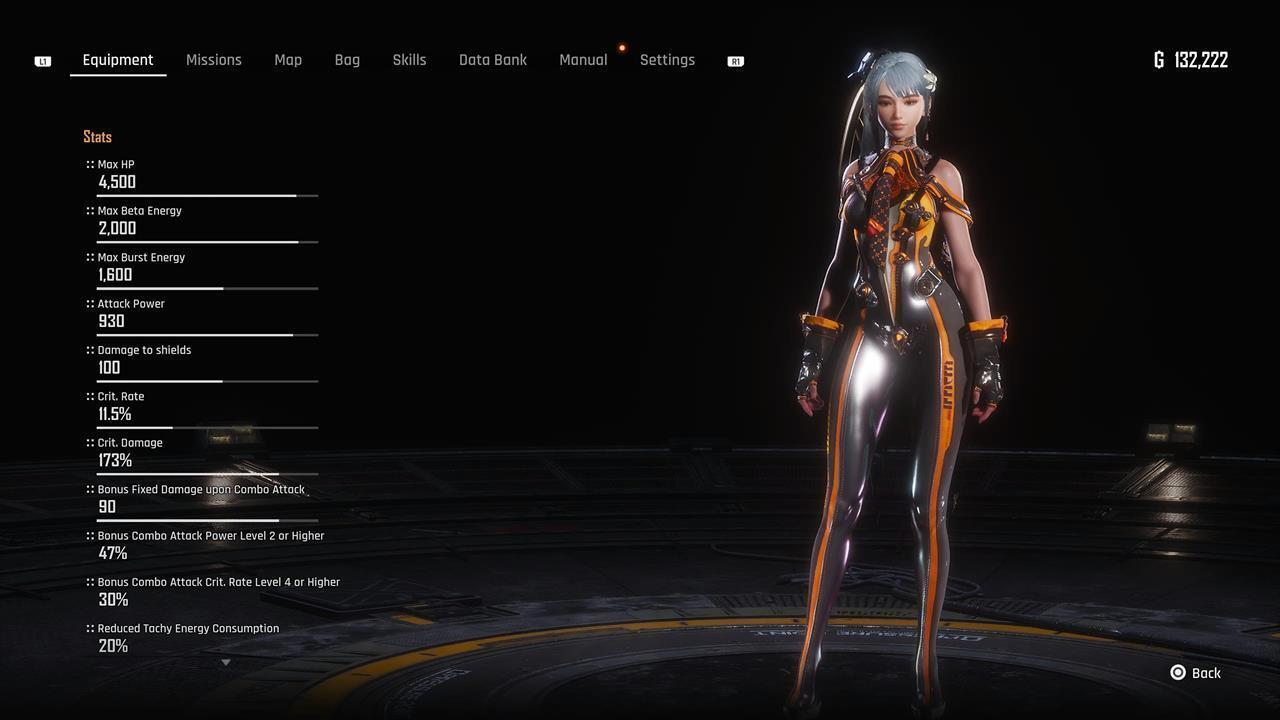
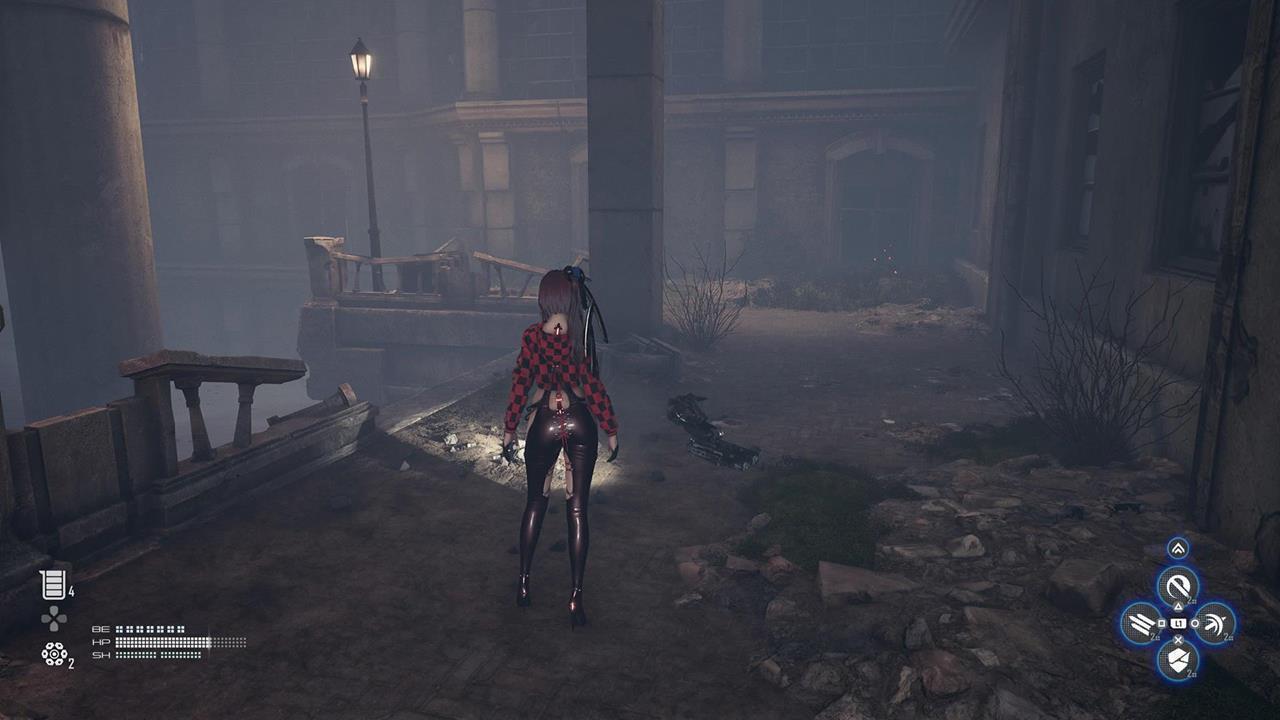
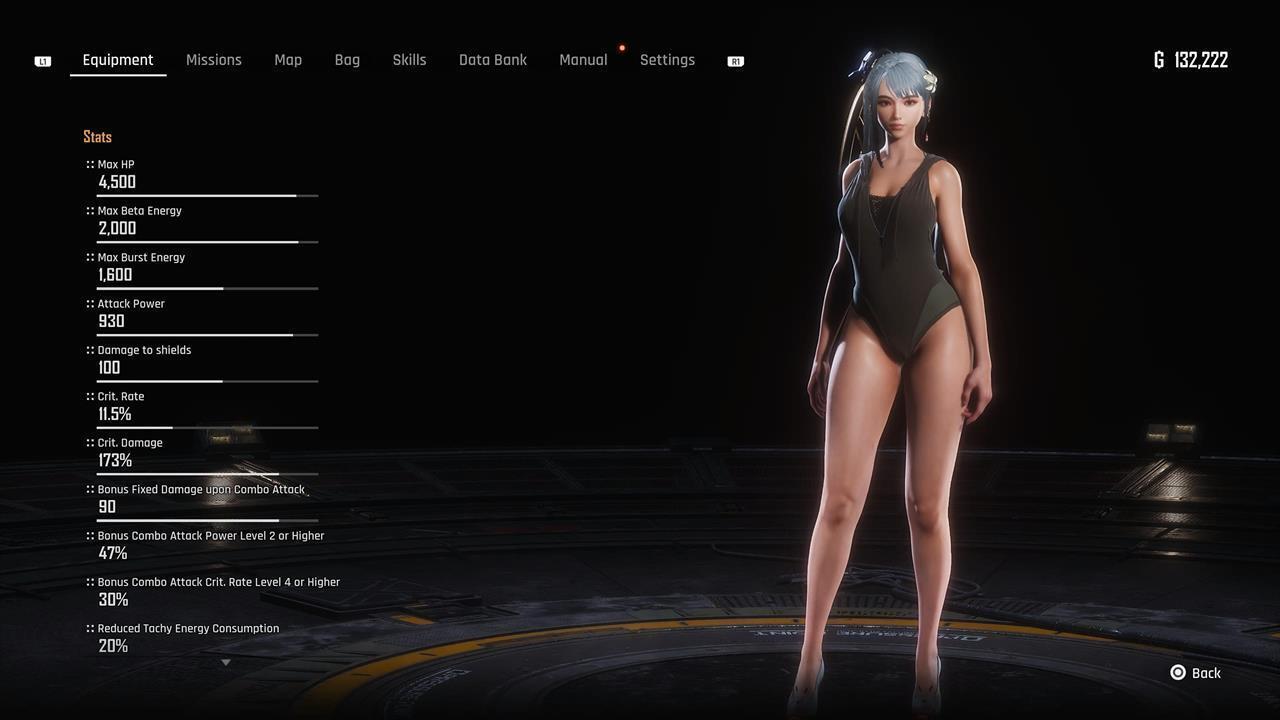
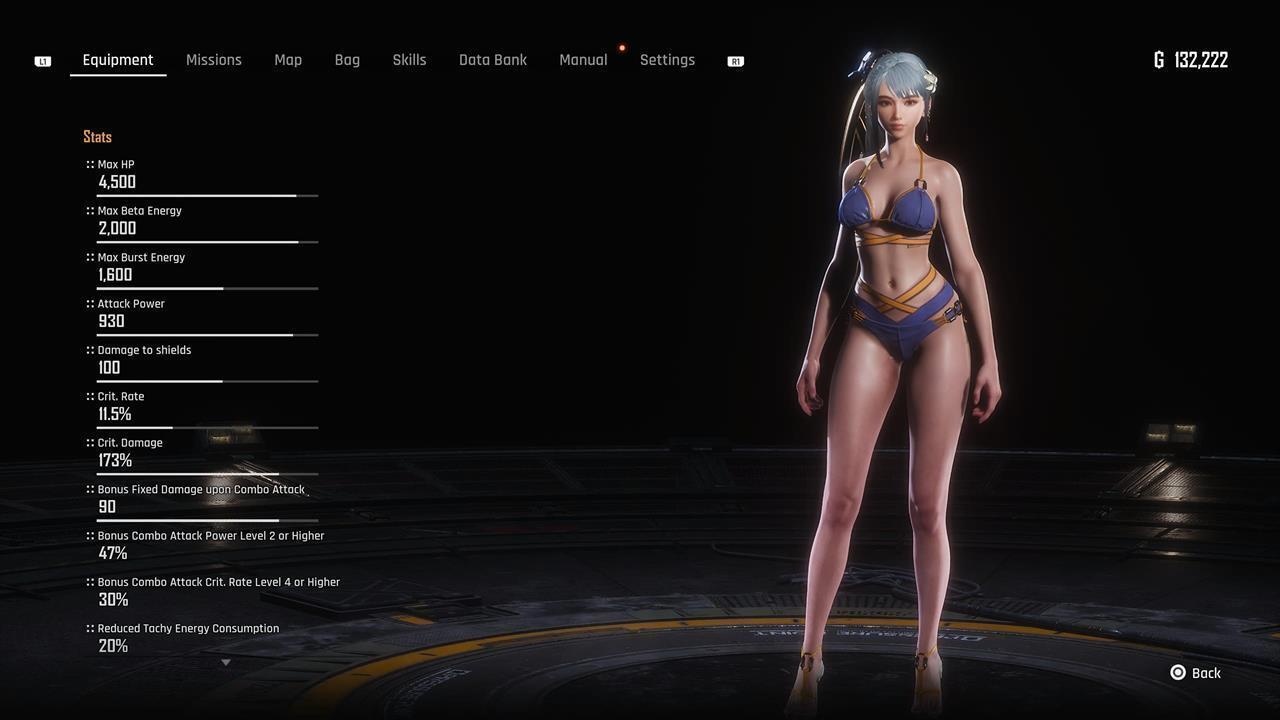
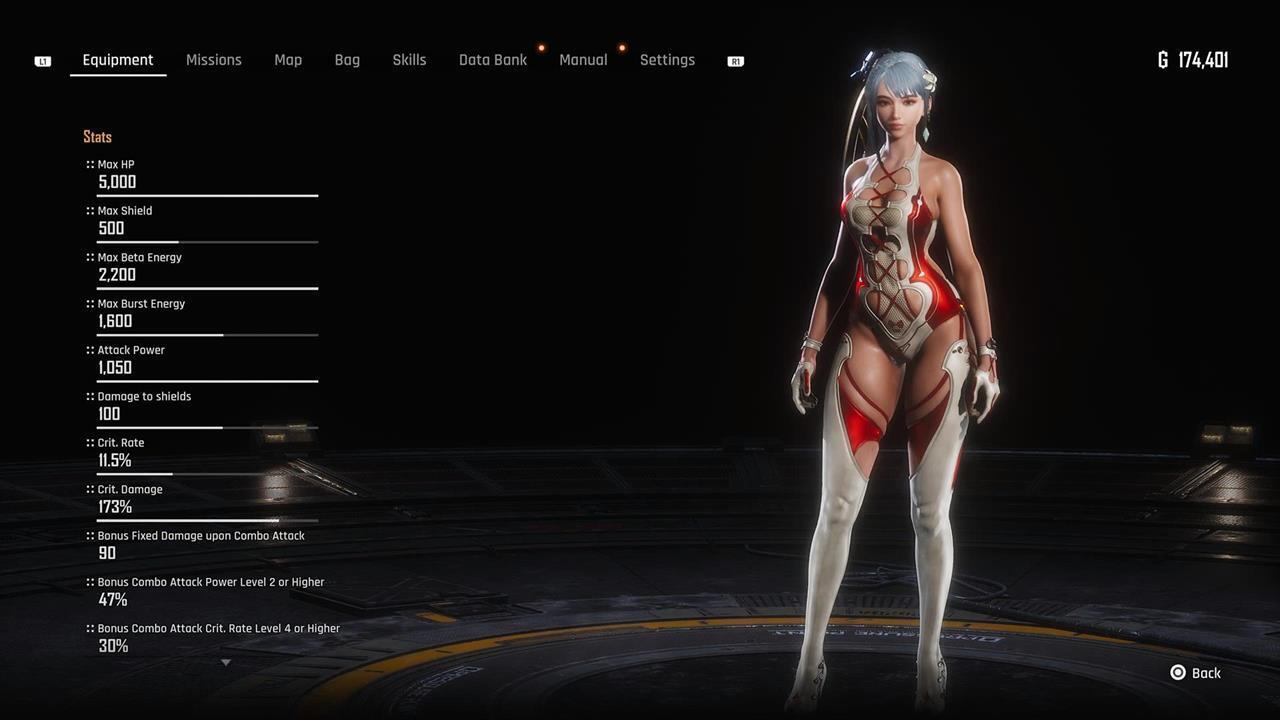
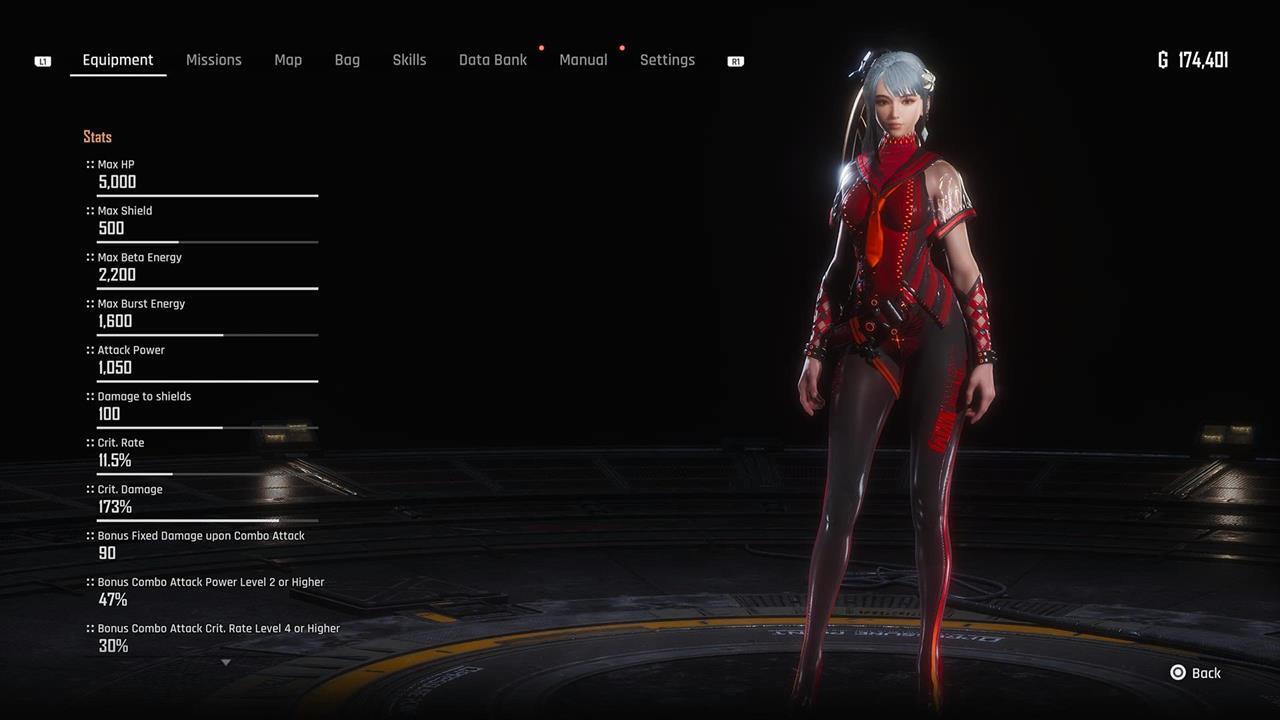
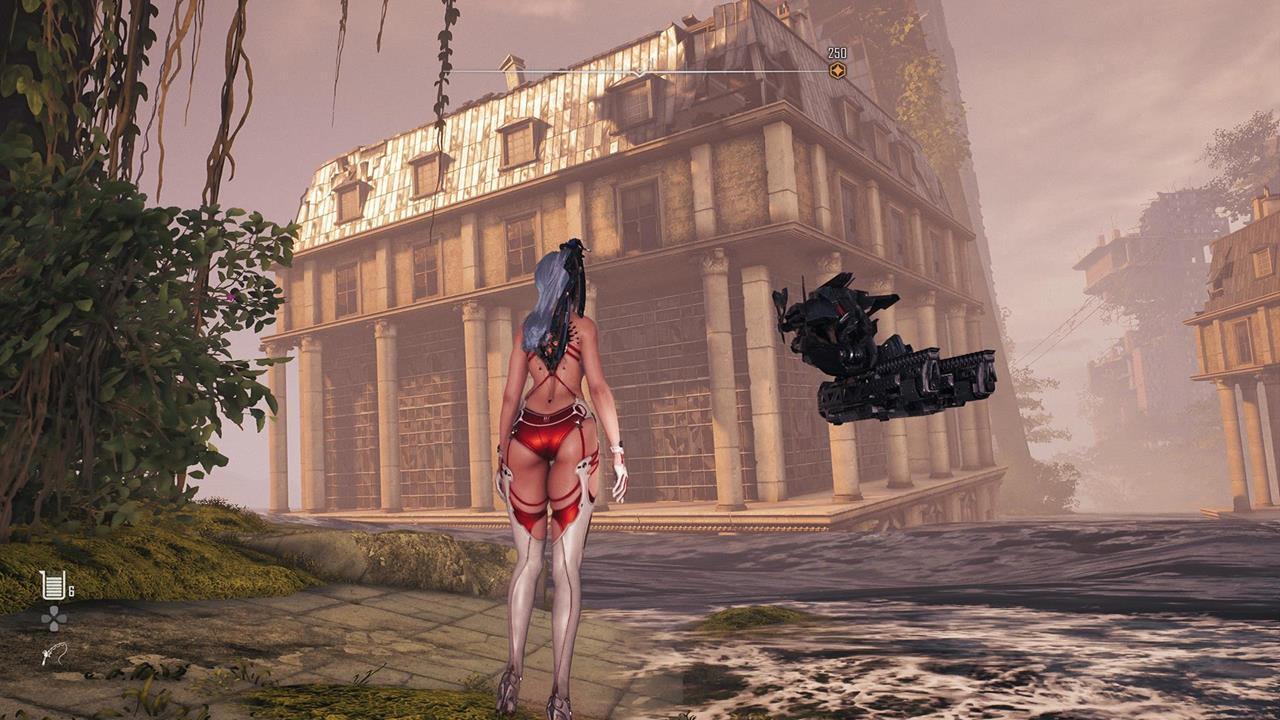
Red Passion
This is the design of the Red Passion outfit.
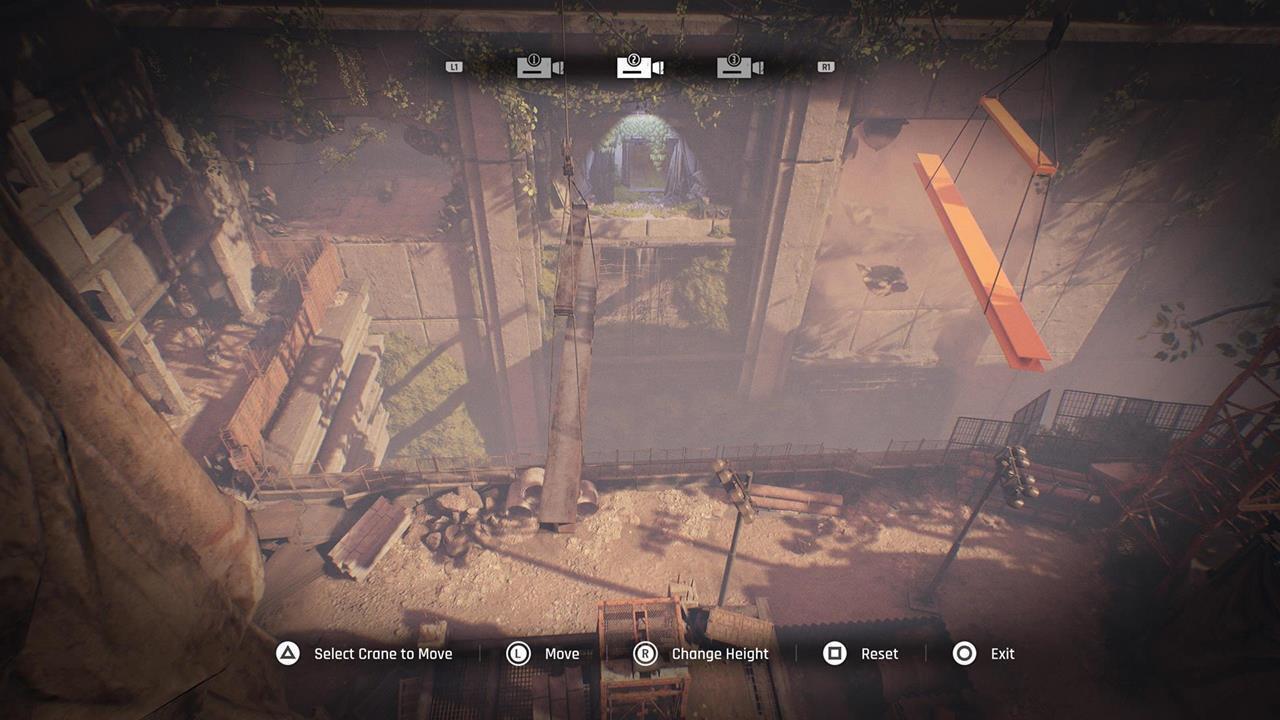
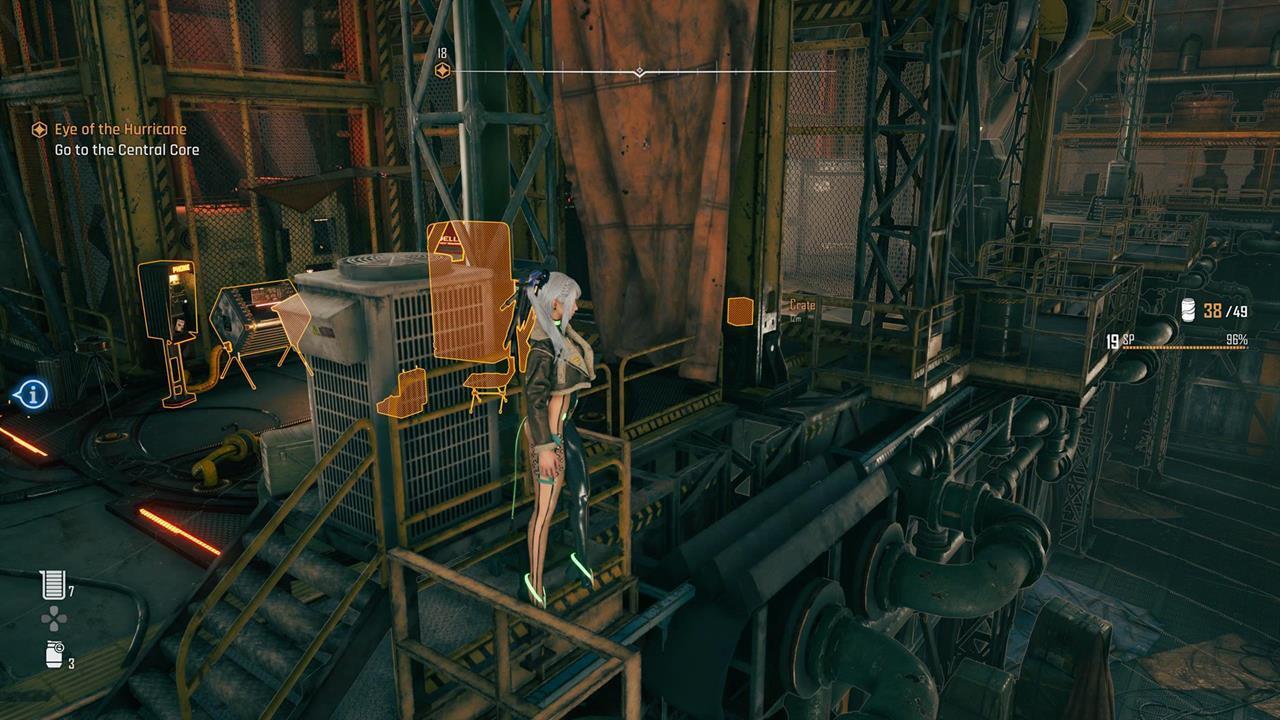
Red Passion location
Location: Eidos 7 – Once you reach the construction site and have control of the crane, use the metal beams to destroy the opposite walls. There’s a nook on the right-hand side with this crate. You can then reposition the beams to reach the reward.
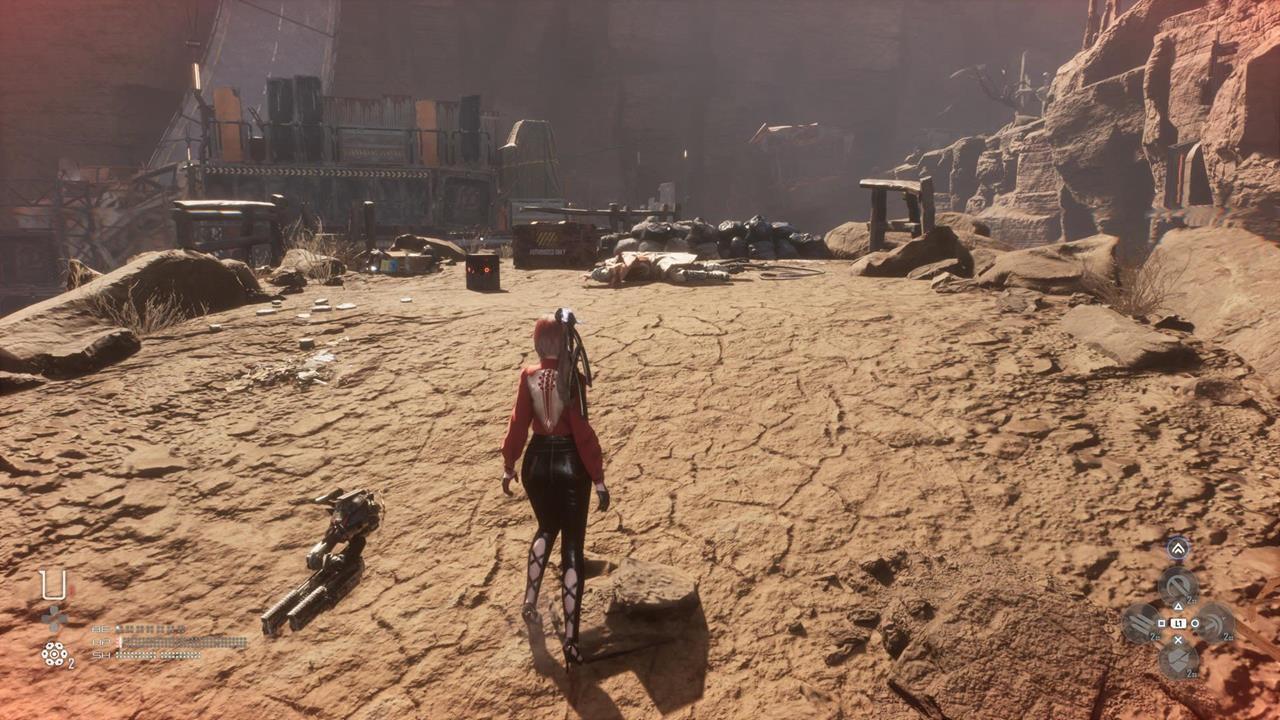
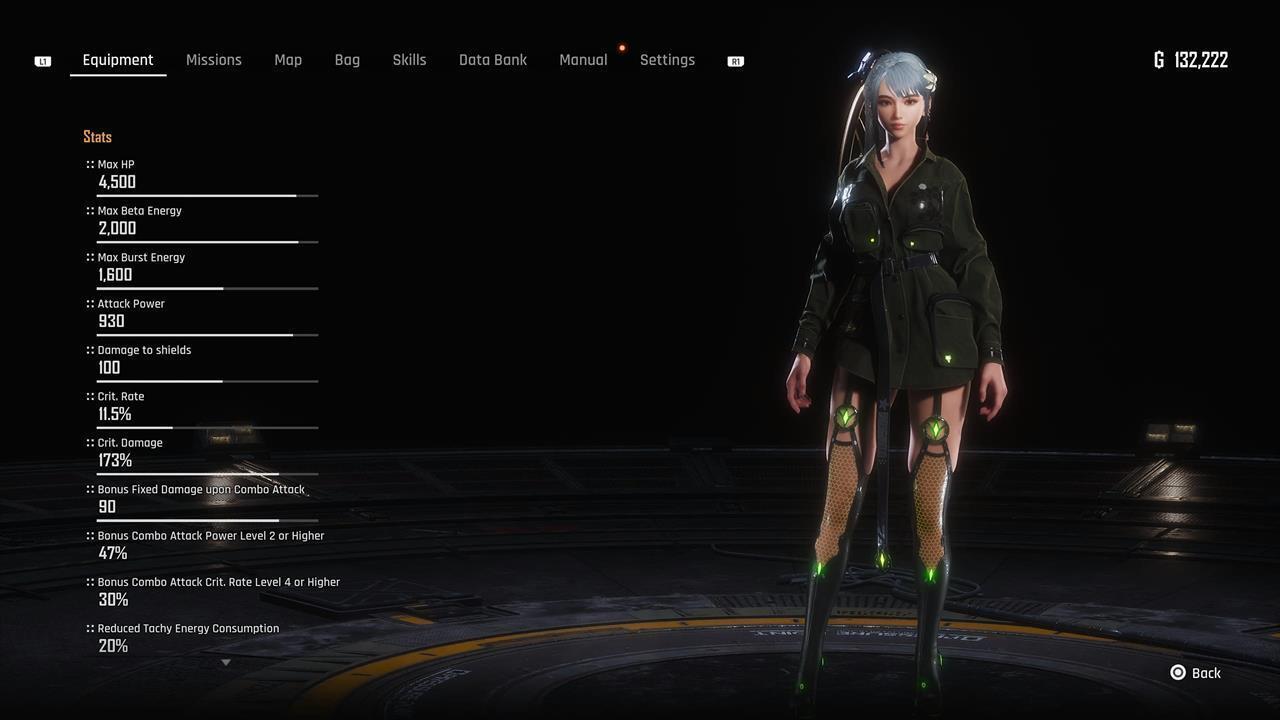
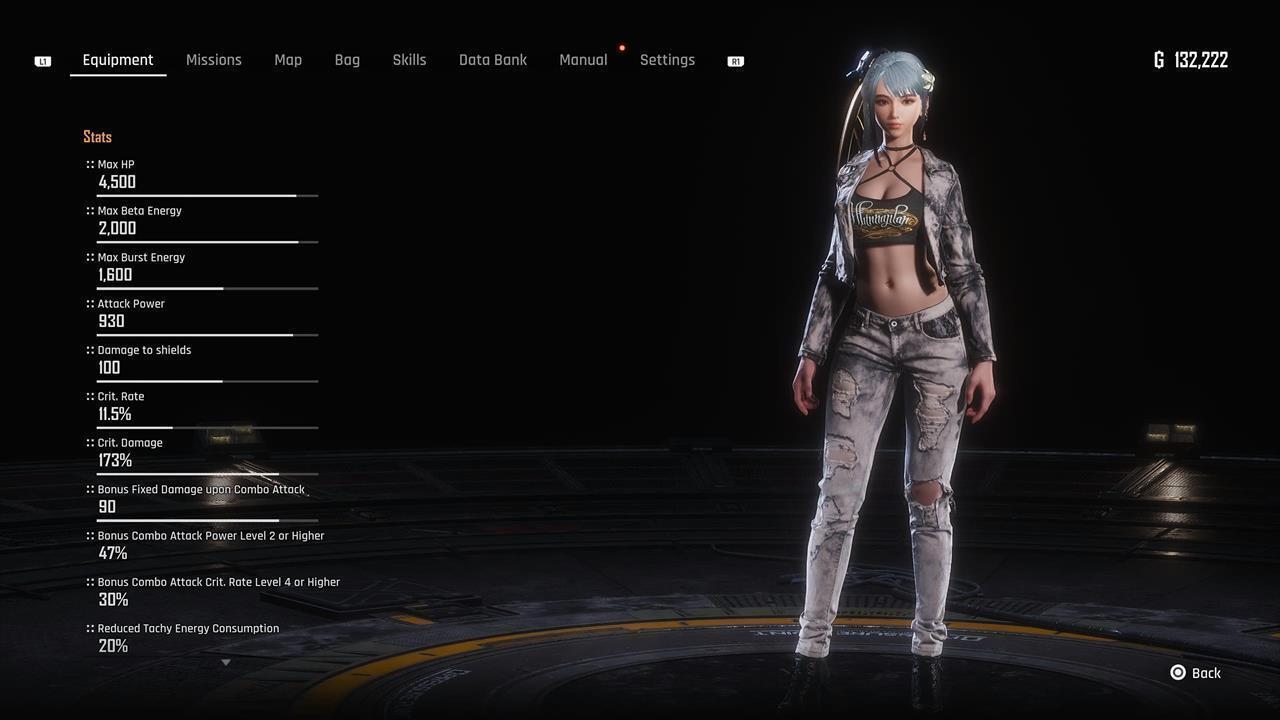
Wasteland Adventurer
This is the design of the Wasteland Adventurer outfit.
Wasteland Adventurer location
Location: Eidos 7 – Although Eidos 7 is the first level in the campaign proper, you won’t be able to reach this area until you’ve made the waters recede in the Flooded Commercial Plaza. You can learn more in our Oblivion quest guide.
Planet Diving Suit (2nd)
Location: Xion – After speaking with Orcal, you’ll be able to explore Xion. Purchase some data slates from Roxanne (i.e. the NPC who’s standing next to the bulletin board) to raise her affinity to level 2. You can then buy this outfit from her.
Orca Exploration Suit
Location: Xion – This is also another outfit that can be purchased from Roxanne at level 2 affinity.
Keyhole Dress
Location: Xion – Continue raising Roxanne’s affinity until it’s at level 3. You should then be able to purchase this attire.
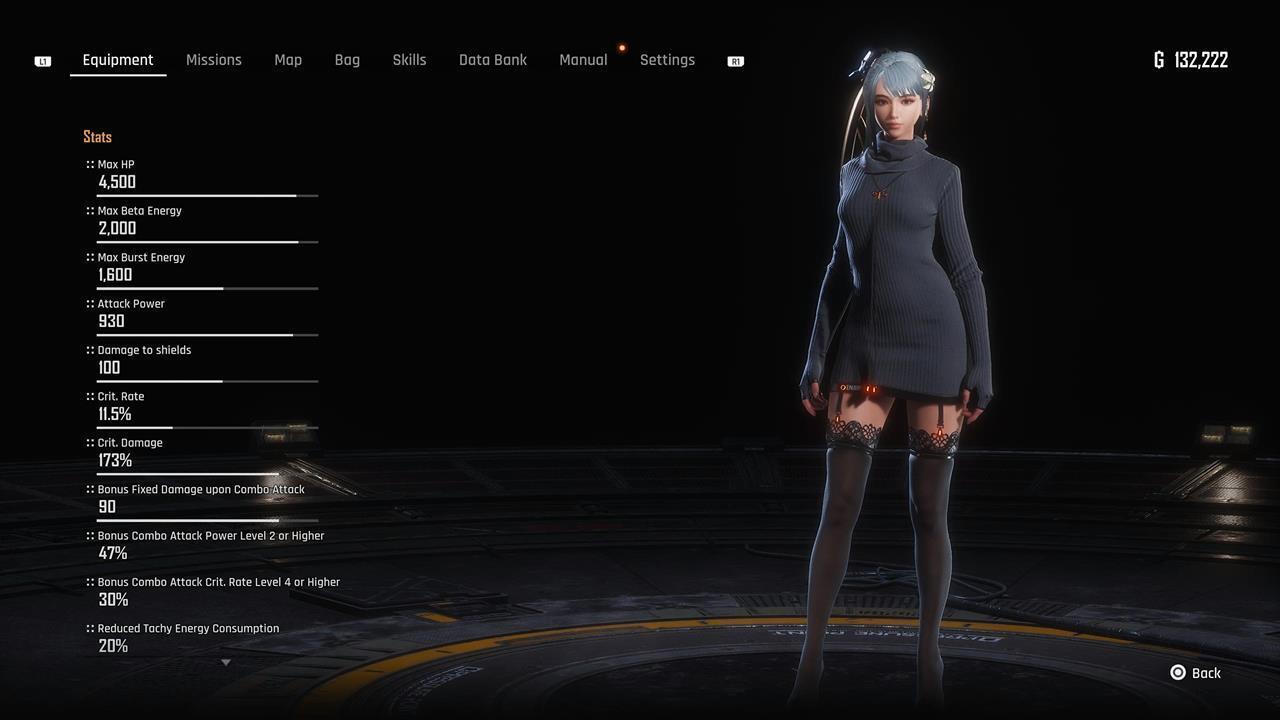
Cybernetic Dress
Location: Xion – This is another dress that can be purchased from Roxanne.
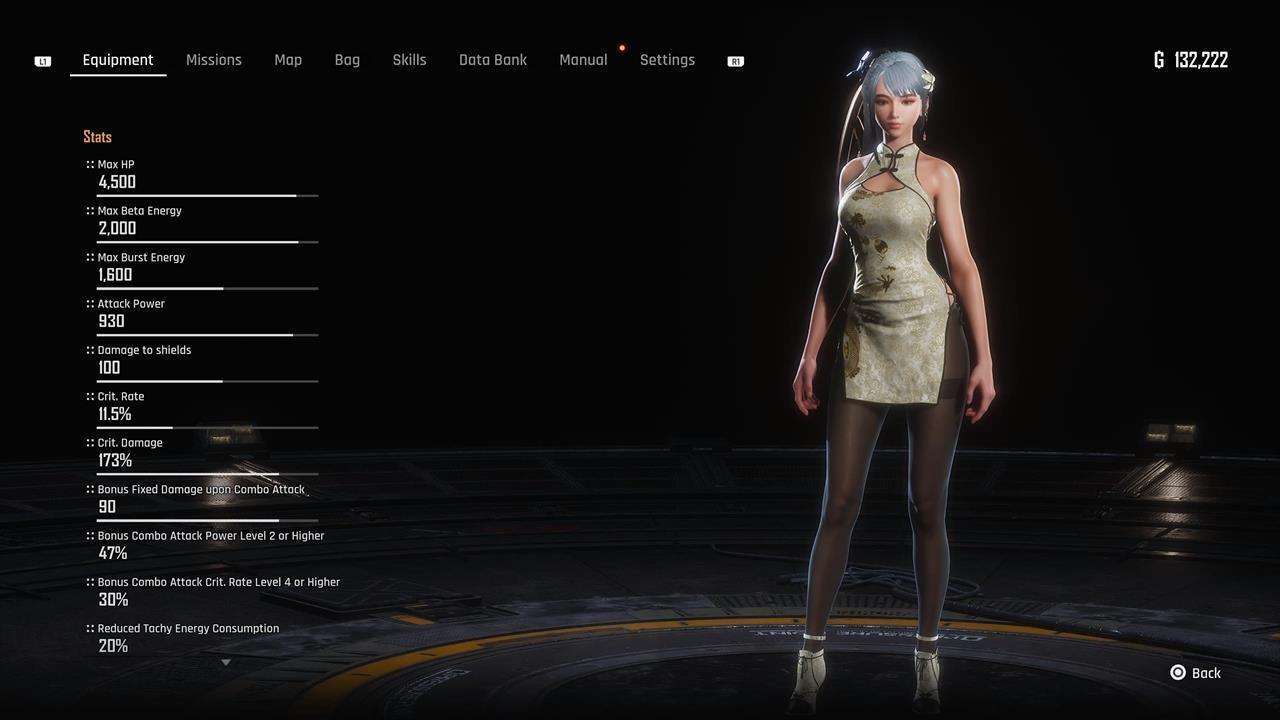
Moutan Peony
Location: Xion – You can also buy this once Roxanne’s affinity is at level 3.
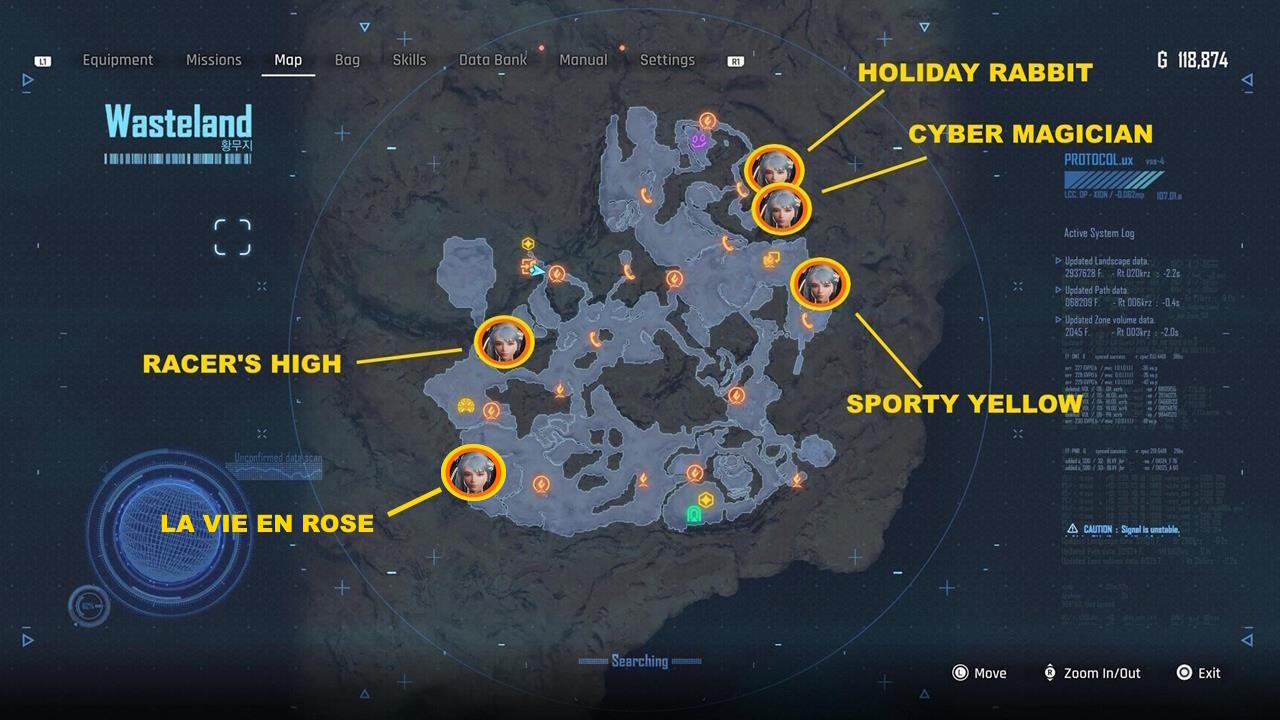
Wasteland map: Eve’s outfits and nano suits
Here’s a map of the Wasteland region, which shows the locations of the Stellar Blade nano suits that we’ve found.
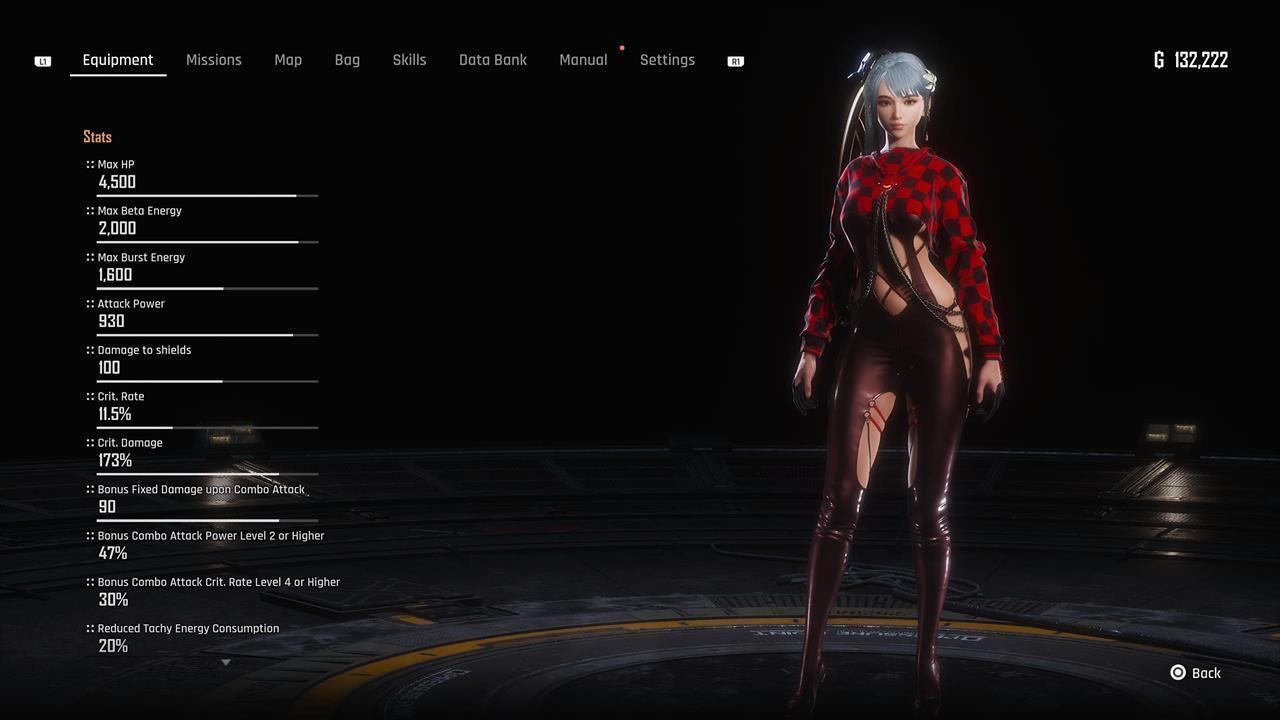
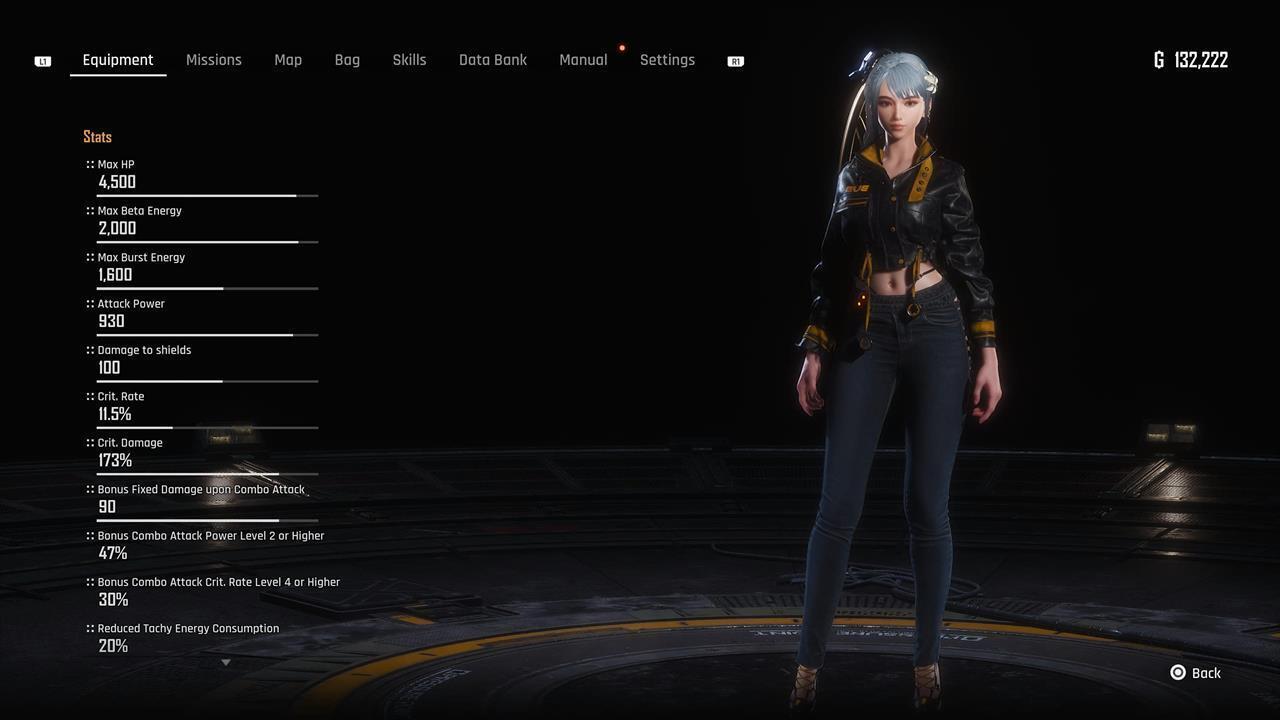
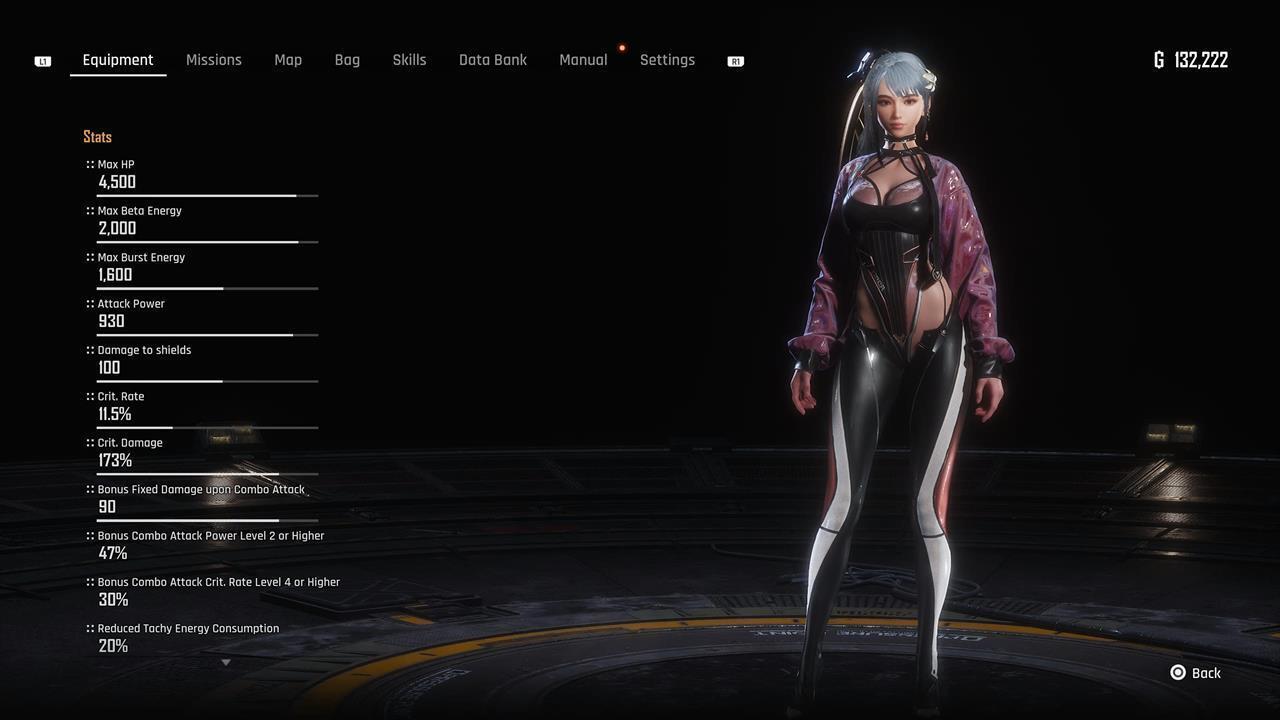
Racer’s High
This is the design of the Racer’s High attire.
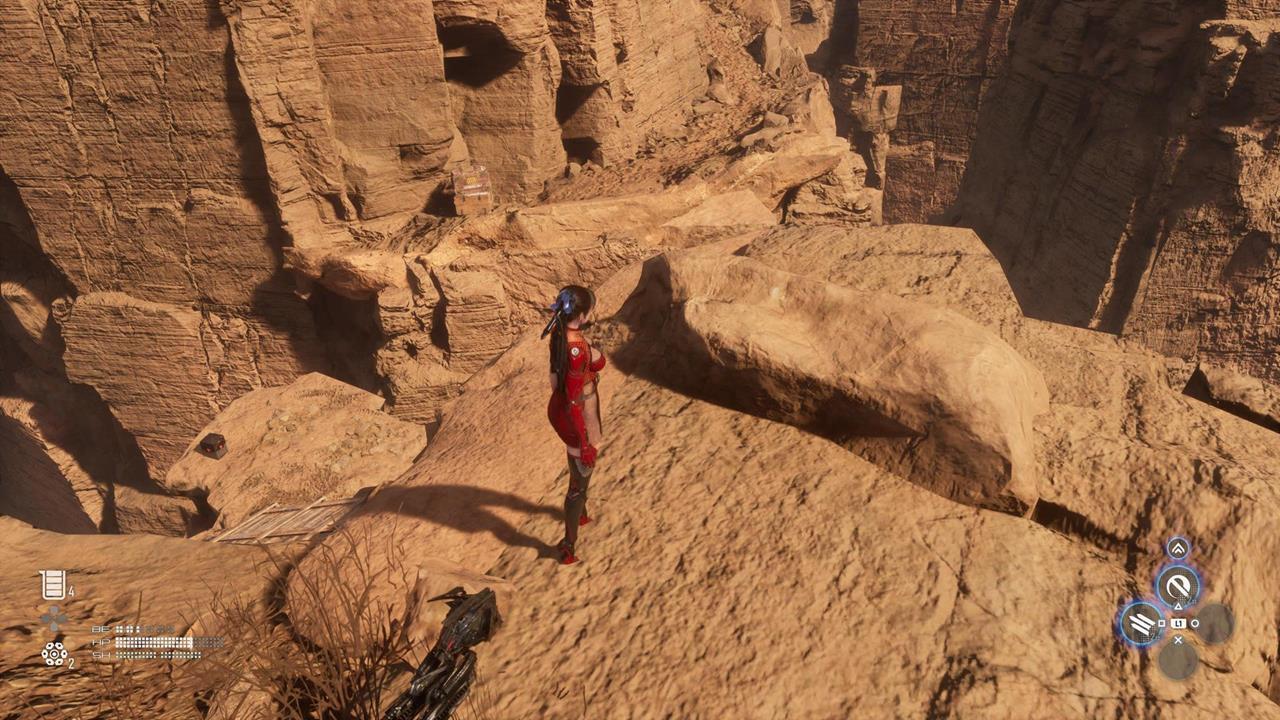
Racer’s High location
Location: Wasteland – From the Solar Tower, go north until you see cliffside paths with ledges. The crate is down below.
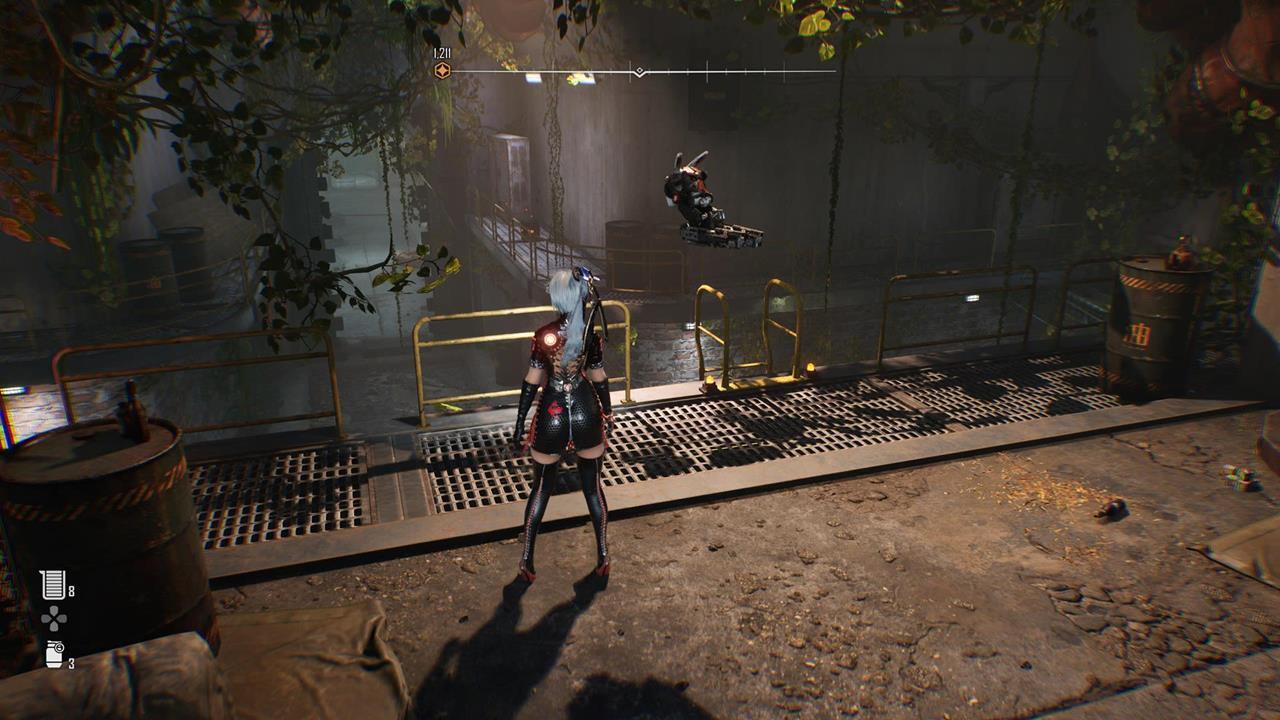
Holiday Rabbit
This is what the Holiday Rabbit outfit looks like.
Holiday Rabbit location
Location: Wasteland – Head to the northeast where you’ll meet a robot NPC named D1G-g2r. From there, follow the winding path south. After battling the Corrupter Naytiba, you’ll spot this chest.
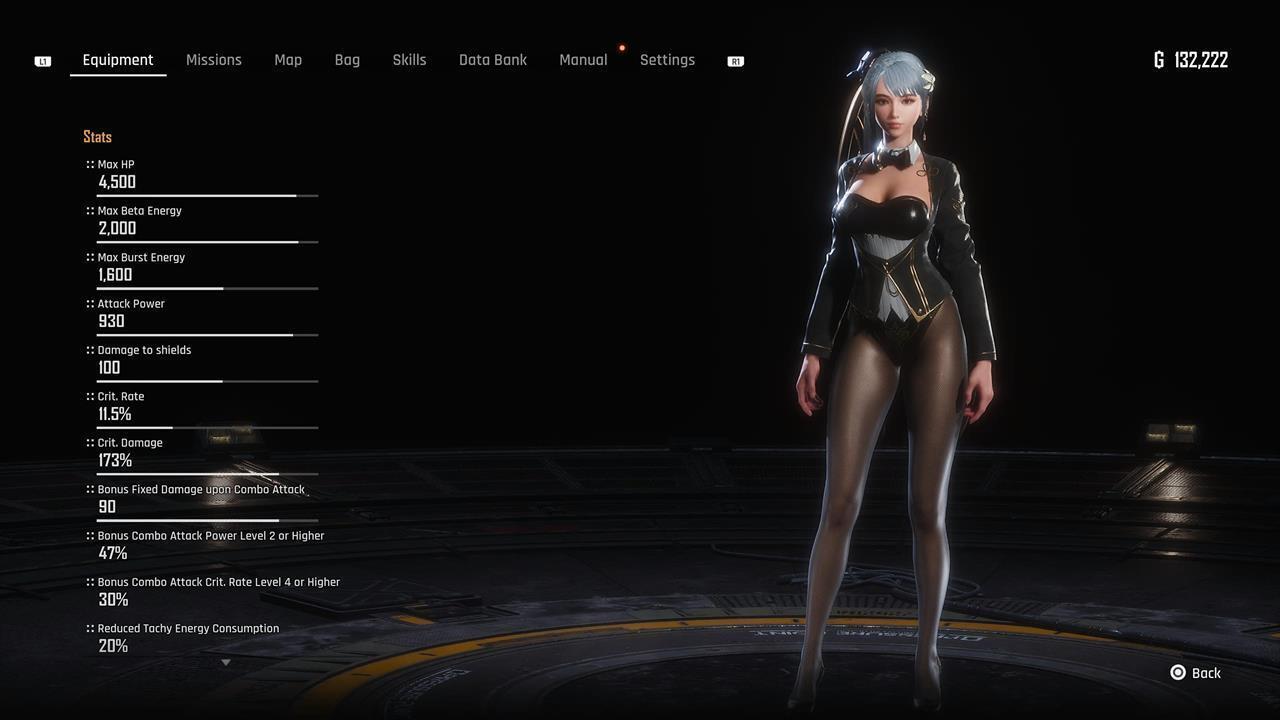
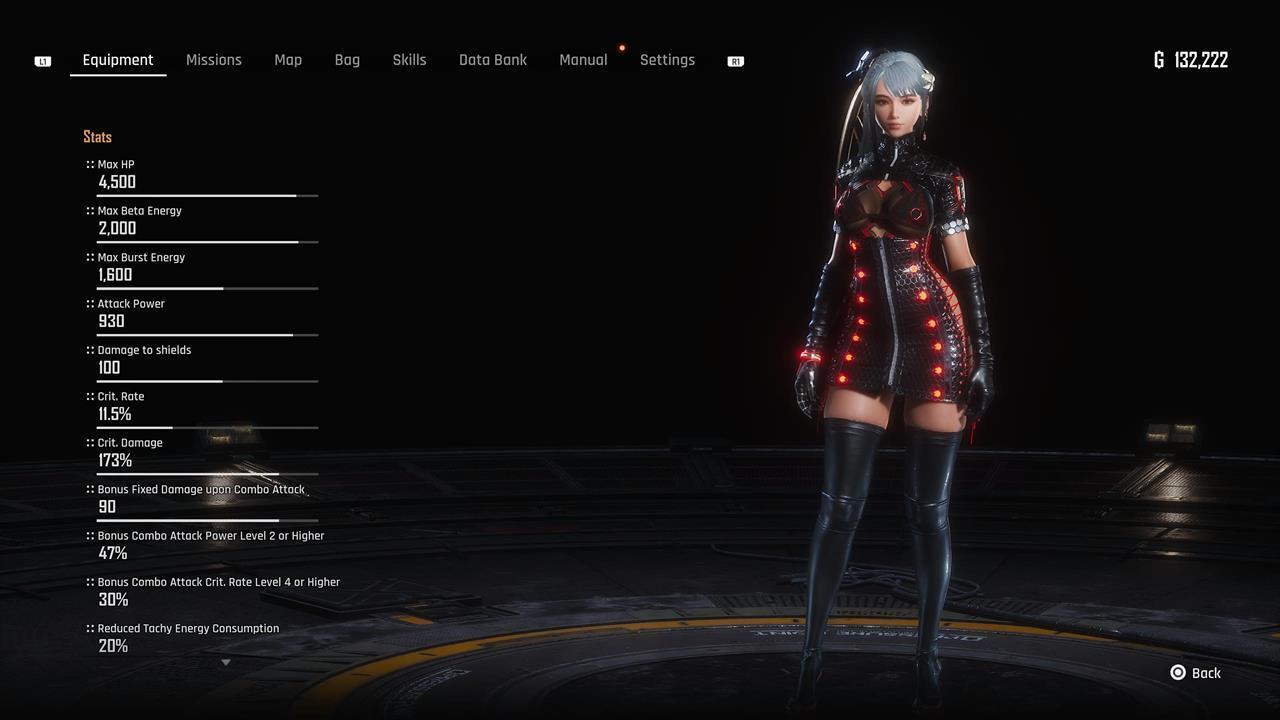
Cyber Magician
This is the Cyber Magician attire.
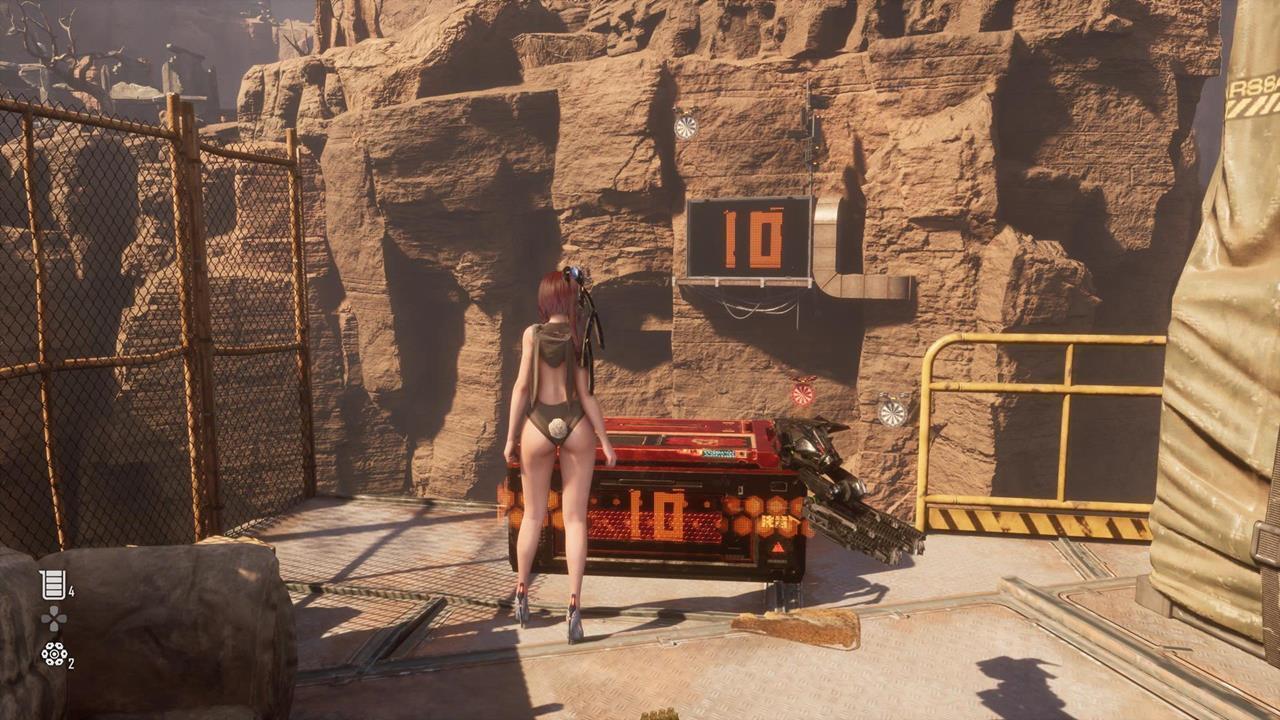
Cyber Magician location
Location: Wasteland – Follow the narrow path as it loops around from where you picked up the Holiday Rabbit attire. There’s a small area just past the payphone waypoint. You’ll see a crate with the number “10” written on it. The goal is to shoot 10 white floating targets within a short span of time.
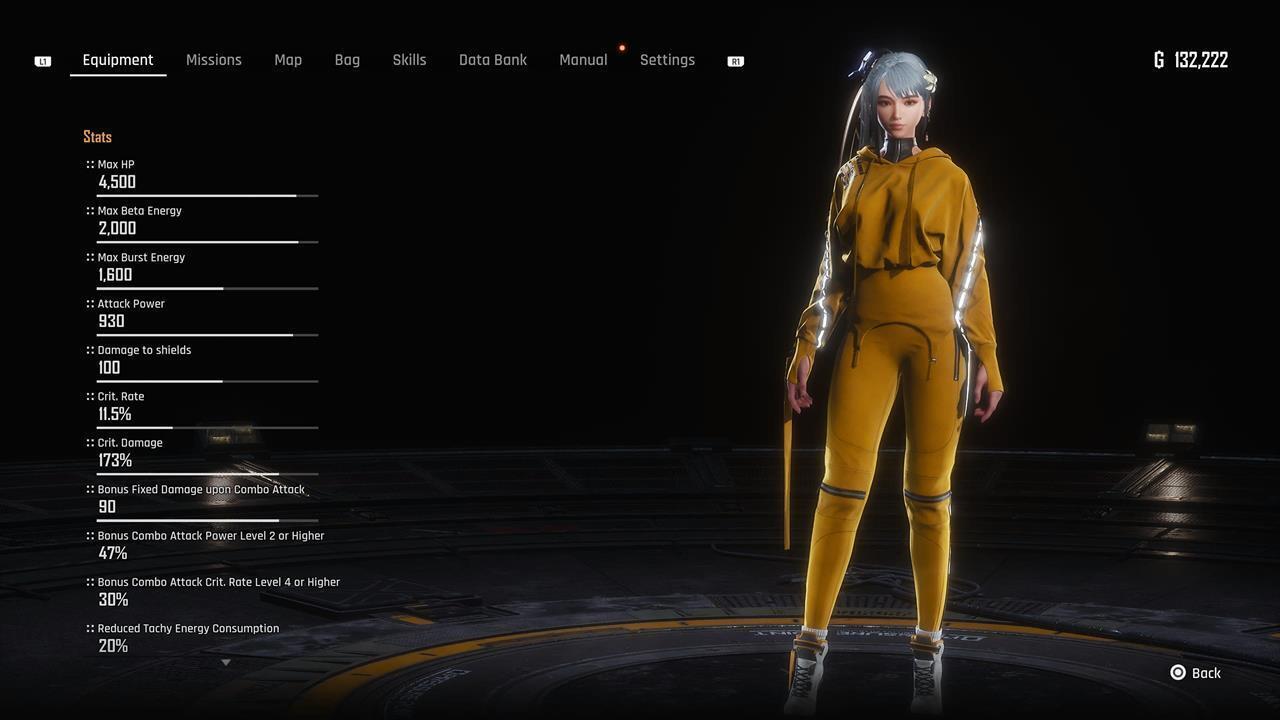
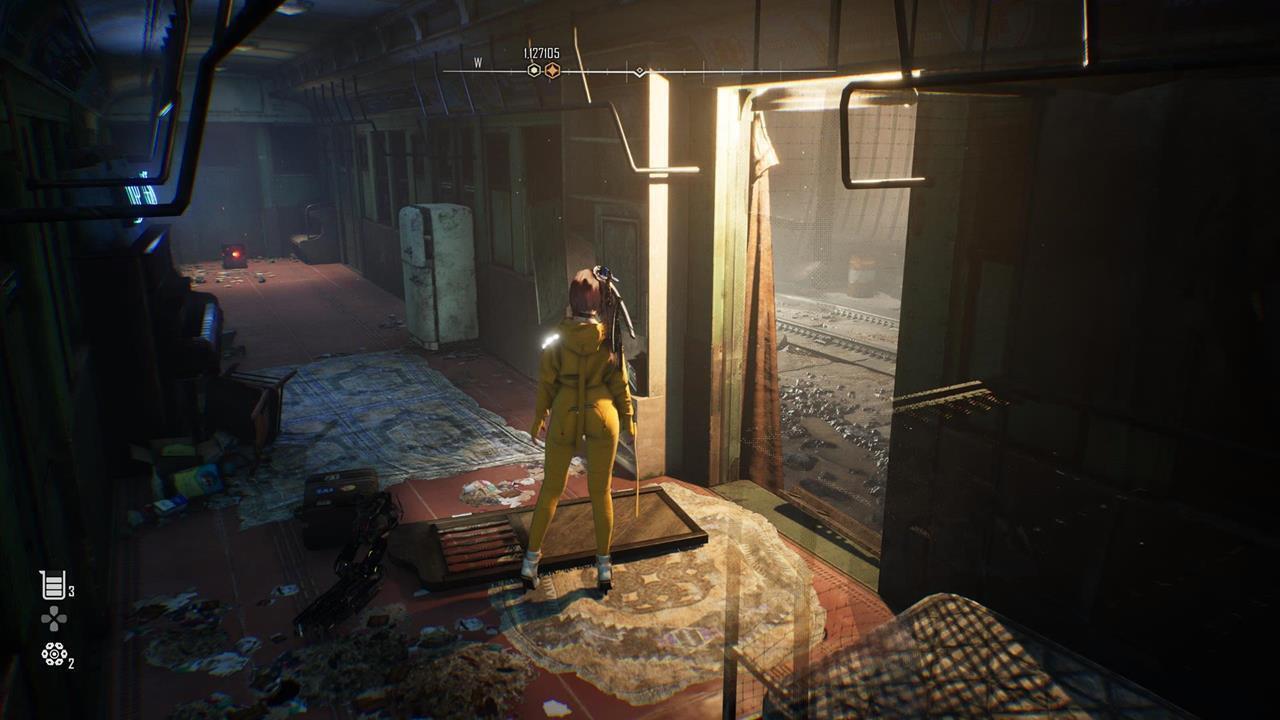
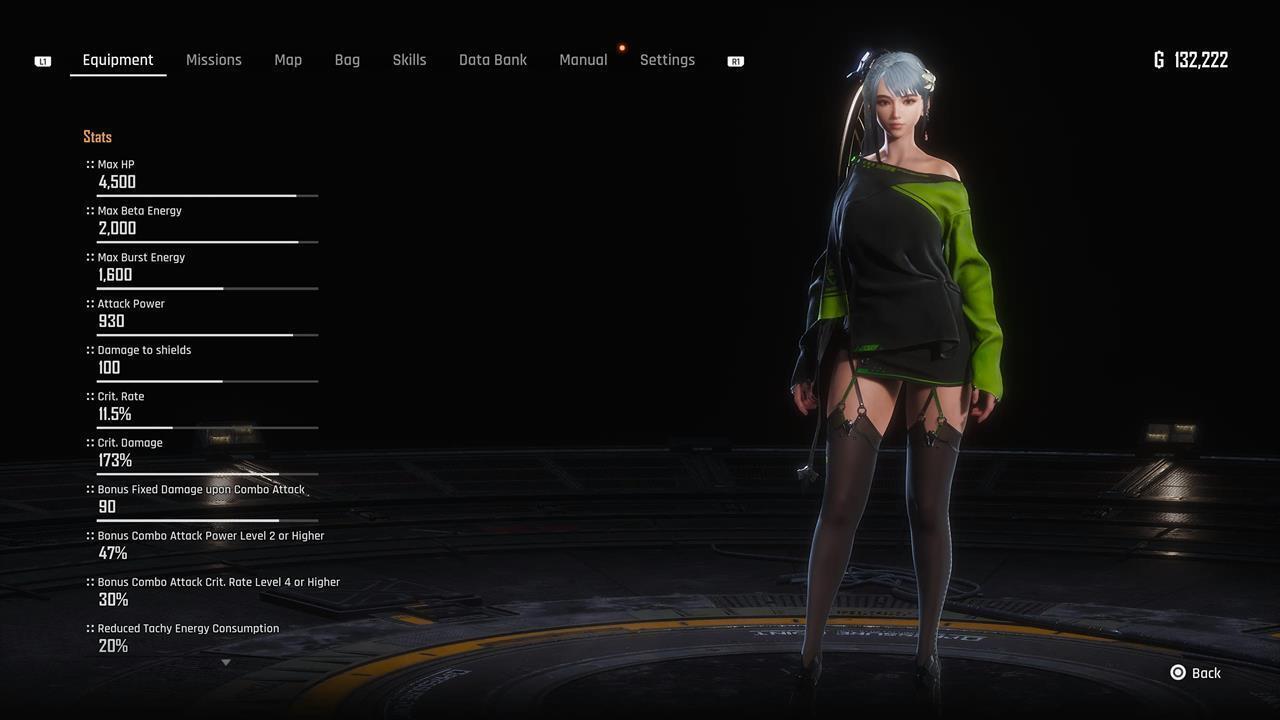
Sporty Yellow
This is the Sporty Yellow design.
Sporty Yellow location
Location: Wasteland – This is found in the Forbidden Area after you defeat the Brute boss.
La Vie En Rose
Location: Wasteland – The La Vie En Rose outfit is the final reward if you can manage to complete a very tricky objective from the bulletin board. You can learn more about this task in our Recruit Passcode Specialists guide.
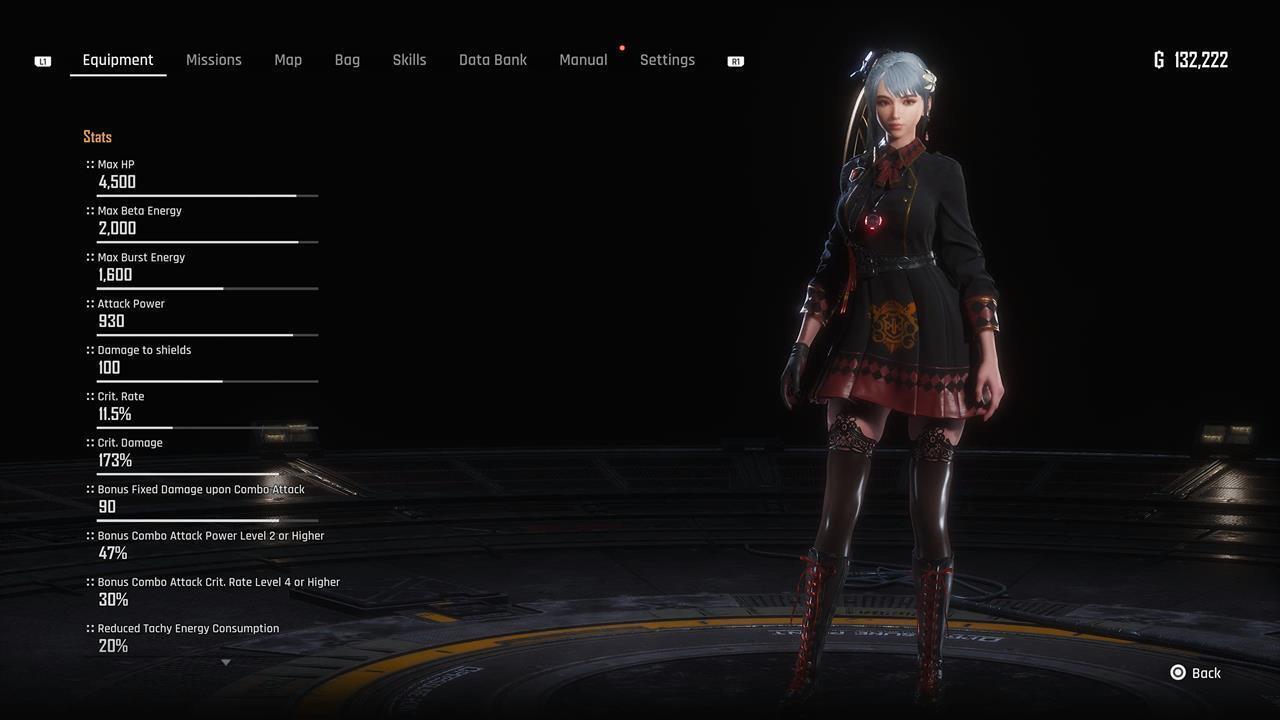
Daily Knitted Dress
This is the design of the Daily Knitted Dress.
Daily Knitted Dress location
Location: Matrix 11 – A short while after the cutscene that introduces the Skull enemies, you’ll spot a crate inside a train.
Daily Mascot
This is the Daily Mascot clothing for Eve.
Daily Mascot location
Location: Matrix 11 – Upon reaching the Underground Sewer section, you have to obtain a Fusion Cell. Suddenly, some monsters will emerge from the wall. Enter the new opening to find this crate.
Daily Force
This is what the Daily Force clothing looks like.
Daily Force location
Location: Matrix 11 – Upon reaching the abandoned settlement/hideout in the sewers, climb up the ladder and look behind you. You’ll see this crate on a walkway.
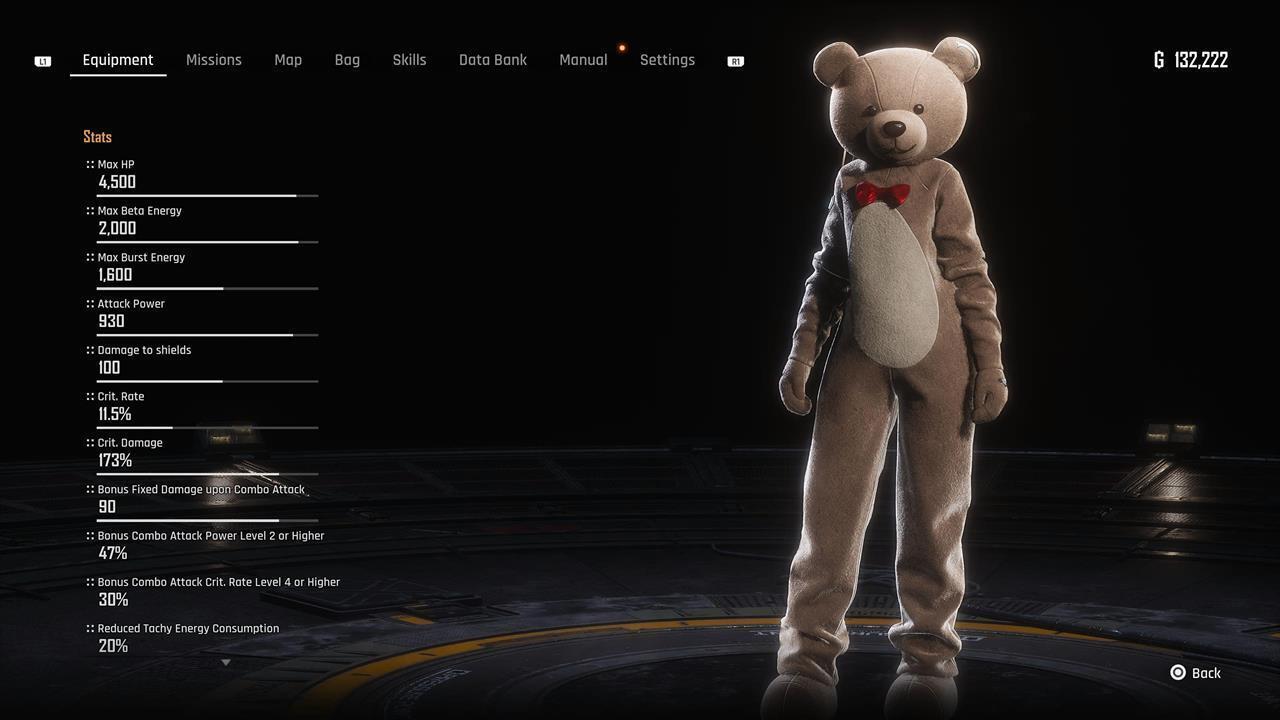
Fluffy Bear
This is a pretty funny costume to wear.
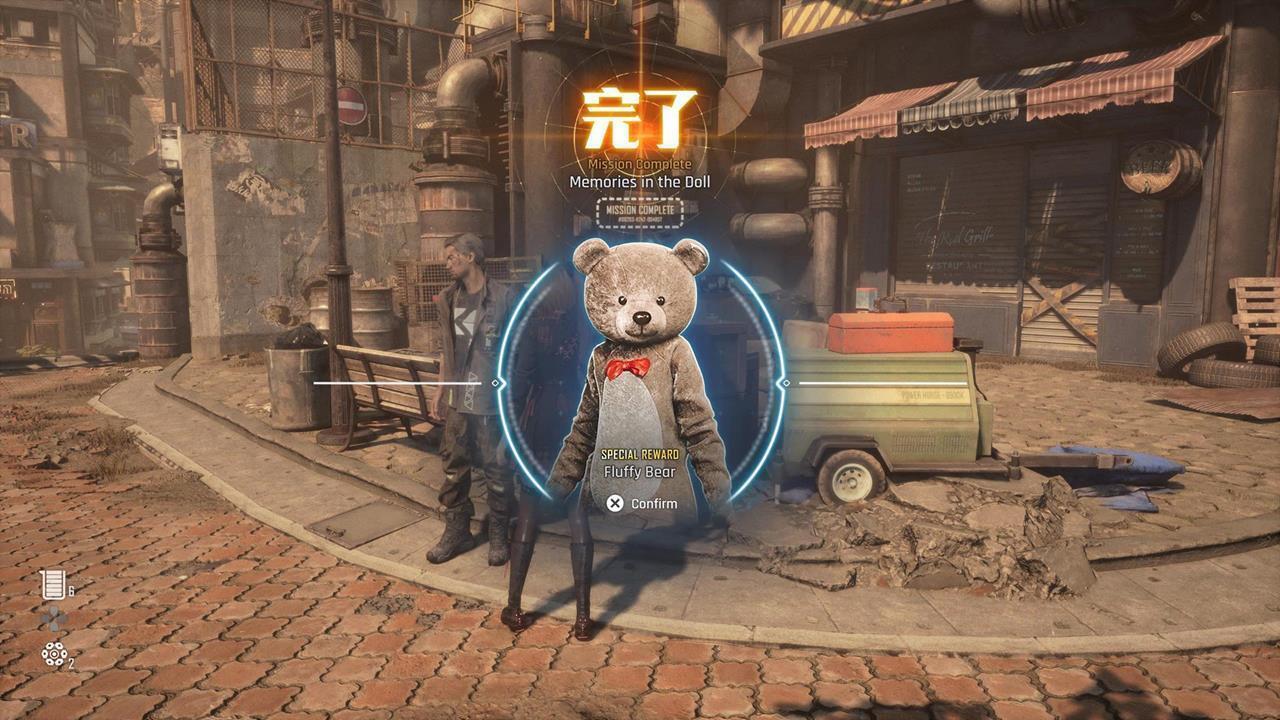
Fluffy Bear location
Location: Matrix 11/Xion – While checking out Xion, you might see an individual named Jett who’s living in a house that’s filled with teddy bears. Later, once you’ve completed the main objective in Matrix 11, Jett will give you the Memories in the Doll side quest. Return to the abandoned settlement in Matrix 11 and pick up the teddy bear on the second-floor landing. Upon giving it to Jett, you’ll complete the quest and receive this reward.

Daily Biker
Location: Xion – The next few nano suits and outfits in Stellar Blade all come from the same shop in Xion. Here’s a quick summary:
- After clearing the main objectives at Wasteland – Altess Levoire, a man named Lyle will ask you to find his daughter Arin. This begins the Stolen Treasure quest.
- Complete this quest and talk to Lyle.
- Once you’re finished with the main objectives in Matrix 11, return to Lyle, who’s now reopened his store.
- The Daily Biker can be purchased after your affinity with Lyle reaches level 2.
Black Full Dress
Location: Xion – This can also be bought from Lyle at level 2 affinity.

Junk Mechanic
Location: Xion – Keep buying stuff from Lyle so that affinity reaches level 3.
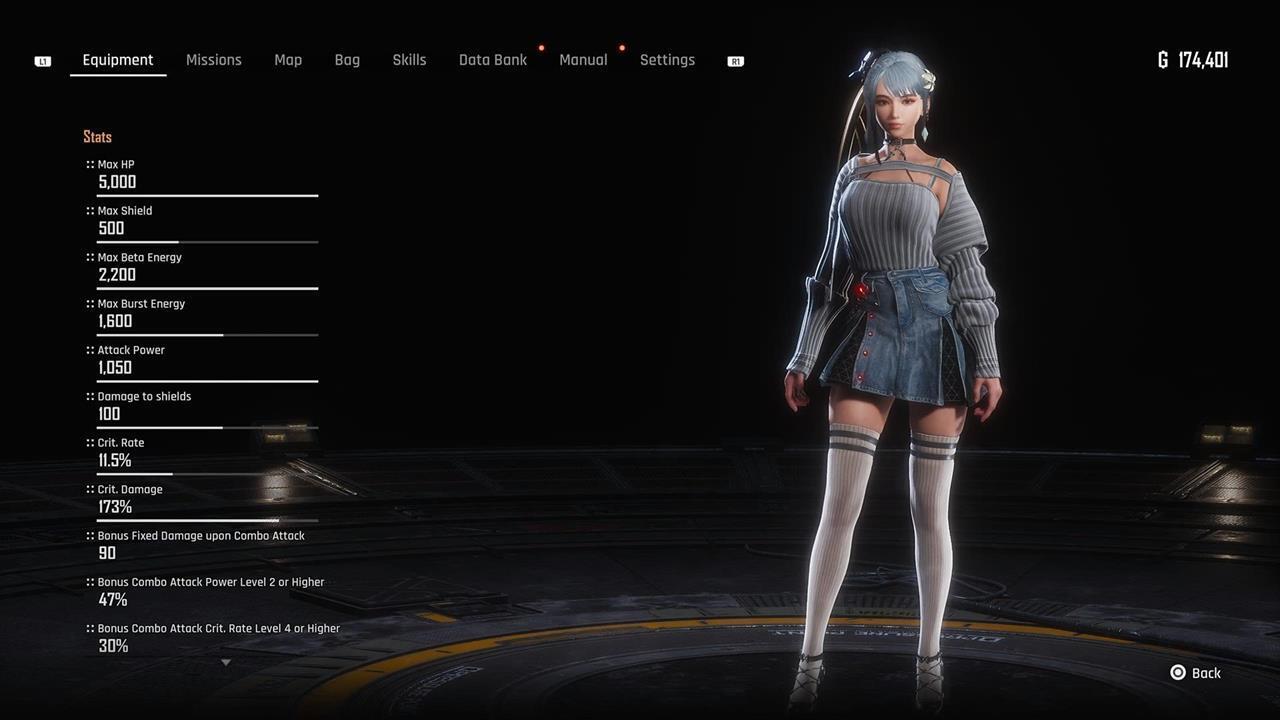
Daily Denim
Location: Xion – You may also purchase this with Lyle’s affinity at level 3.
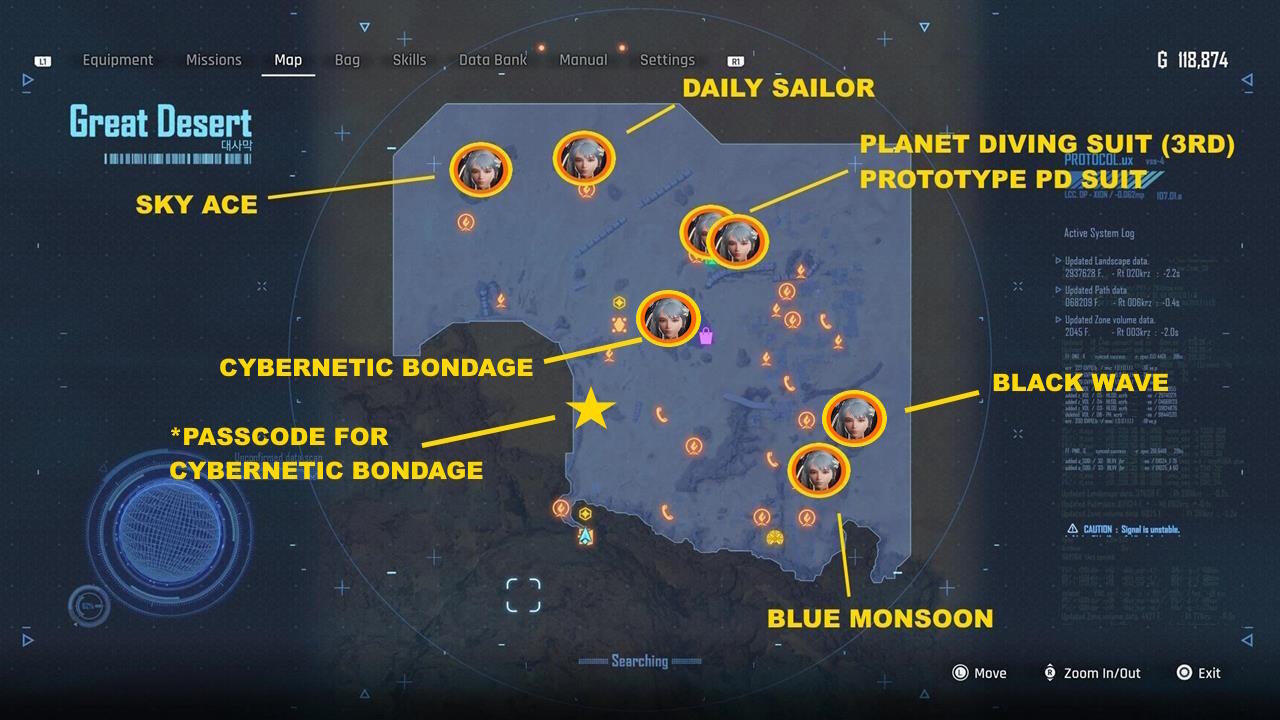
Great Desert map: Eve’s outfits and nano suits
The Stellar Blade nano suits and outfits here come from the Great Desert. We’ve also included those that are rewards from side quests.
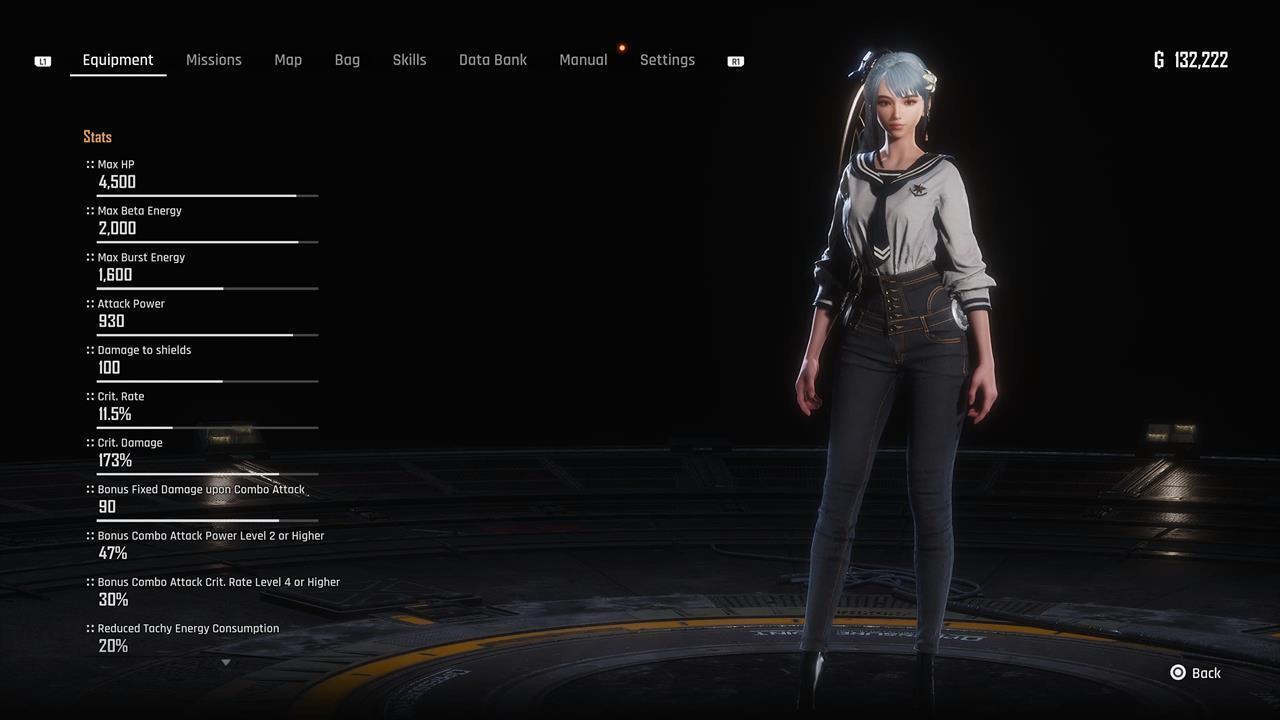
Daily Sailor
This is the Daily Sailor outfit.
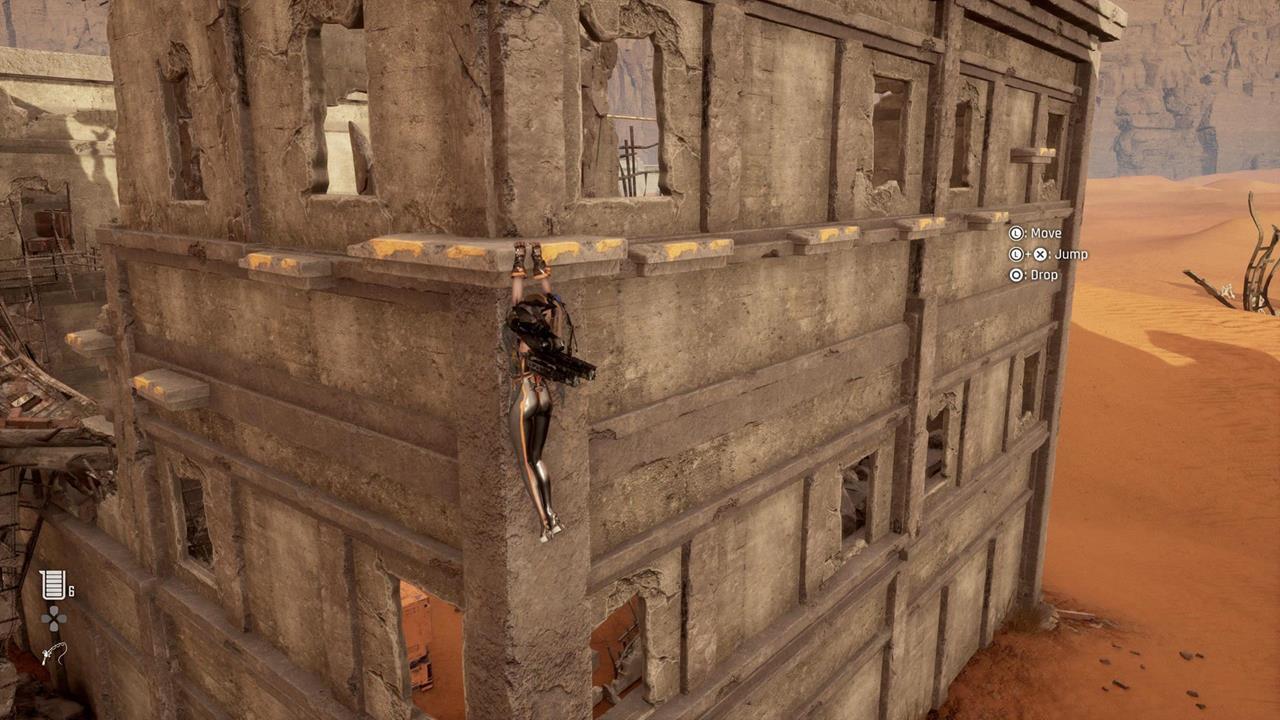
Daily Sailor location
Location: Great Desert – Go to the Twin Rocks camp to the north. There’s a ruined building here with some yellow-painted indentations. Reposition the metal crate so you can reach and clamber onto these, then jump across the gap using the bars.
Sky Ace
Blue Monsoon
Black Wave
This is the design of the Black Wave attire.
Black Wave location
Location: Great Desert – Make your way to the abandoned city block to the south of the Buried Ruins. Then, continue to the easternmost section where you’ll find a large yellow container. Reposition it so you can clamber on the handholds, then swing across via monkey bars. Eventually, you have to do a running double jump, followed by an air dash, to reach the last building.
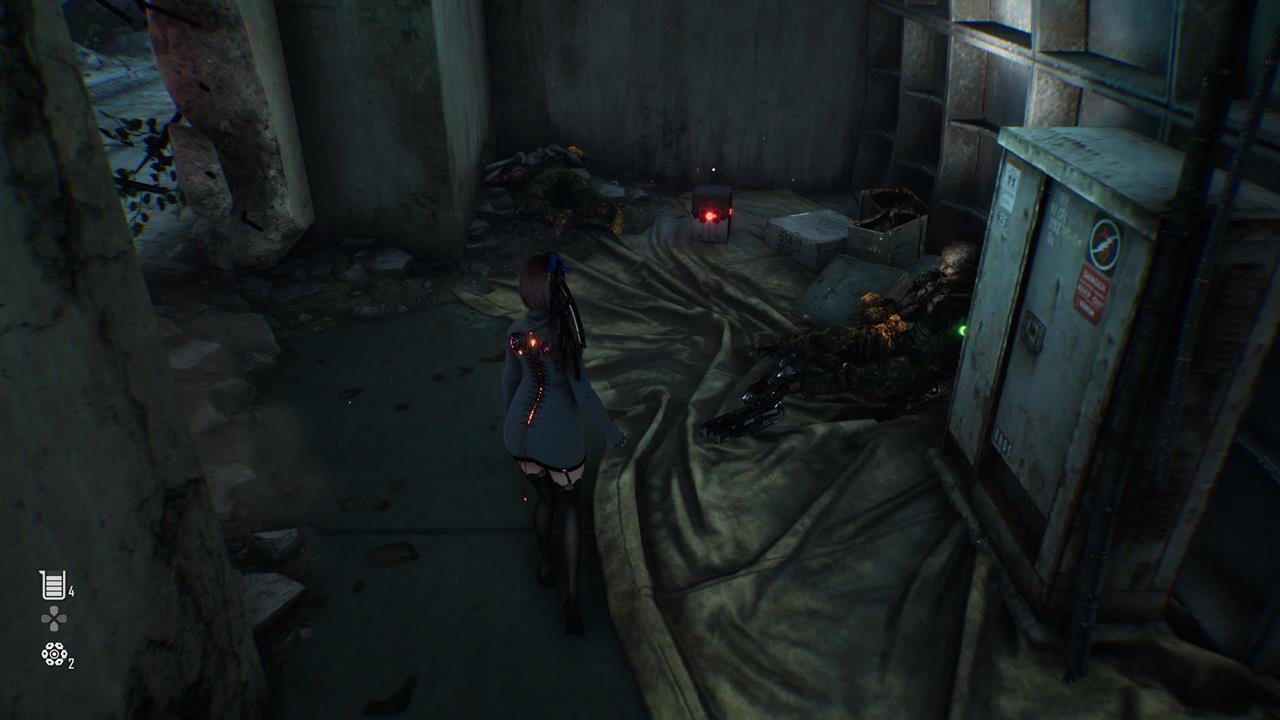
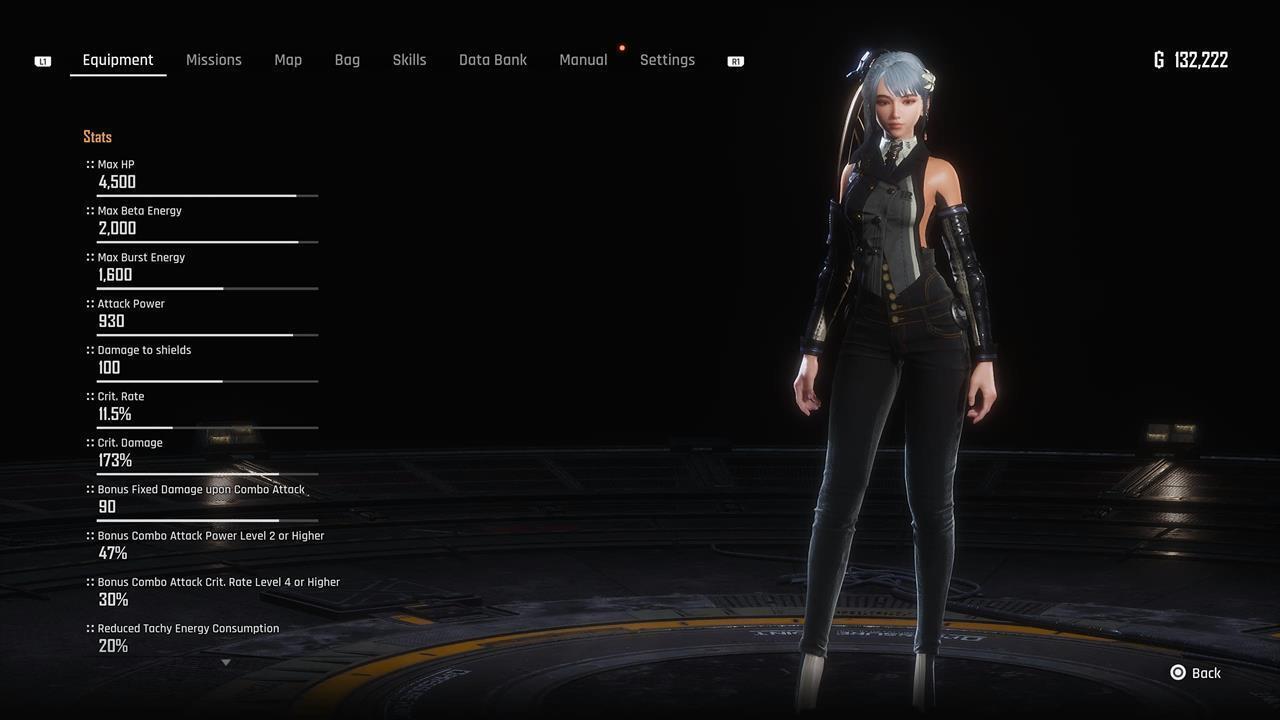
Cybernetic Bondage
This is the design of the Cybernetic Bondage nano suit in Stellar Blade.
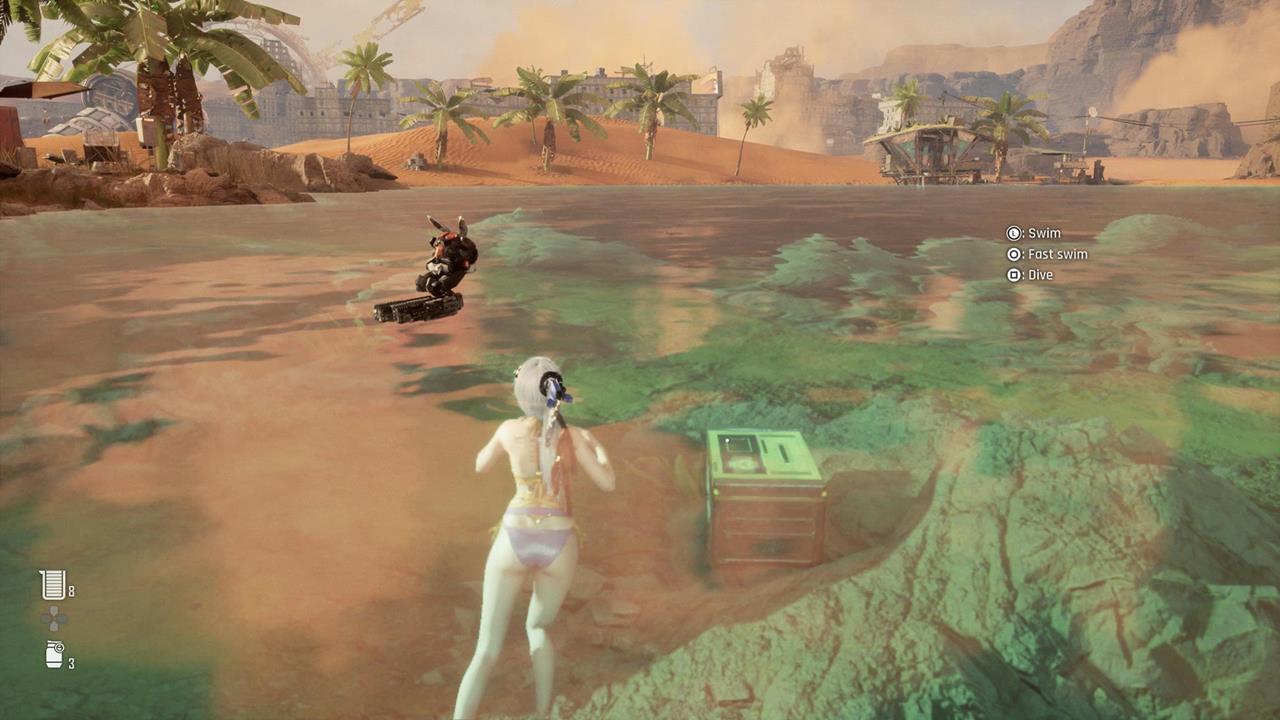
Cybernetic Bondage location
Location: Great Desert – The chest that has the Cybernetic Bondage outfit is at the bottom of the waters of the Oasis. However, you still have to acquire the passcode.
To get it, head to the southwestern portion of the map. Follow the massive, fortress-like walls until you see a tower. You can jump on the floating drones, then swing using a rope, to reach a ledge. Open the metal gate to find a corpse that has the passcode.
Planet Diving Suit (3rd)
This Stellar Blade nano suit is for the members of 3rd company.
Planet Diving Suit (3rd)
Location: Great Desert (Abyss Levoire) – Enter the Abyss Levoire facility and check the side room with the laser trap. Defeat the Naytiba enemies while avoiding fatal damage from lasers. You should then be able to open this chest.
Prototype Planet Diving Suit
Location: Xion – After completing the main objectives in Great Desert – Abyss Levoire, return to Xion and buy this from Roxanne. You can also purchase this from Roxanne after clearing Spire 4/Orbit Elevator.
Planet Diving Suit (6th)
This is the design of the Planet Diving Suit (6th) nano suit in Stellar Blade.
Planet Diving Suit (6th) location
Location: Eidos 9 – Three outfits can be obtained in Eidos 9, which has a strict unlock requirement. You can learn more about this in our Eidos 9 secret level guide.
As for this particular attire, you can find it in the apartment district with the first set of Cocoon enemies. You should see a small landmass with destroyed cars. Just across from this spot is a marble building. Swim across the gap–Eve will survive as long as you don’t spend five seconds in the contaminated water.
Next, climb up the yellow-painted indentations along the left-hand side of the building. You should be able to reach the rooftop and the room that has a chest.
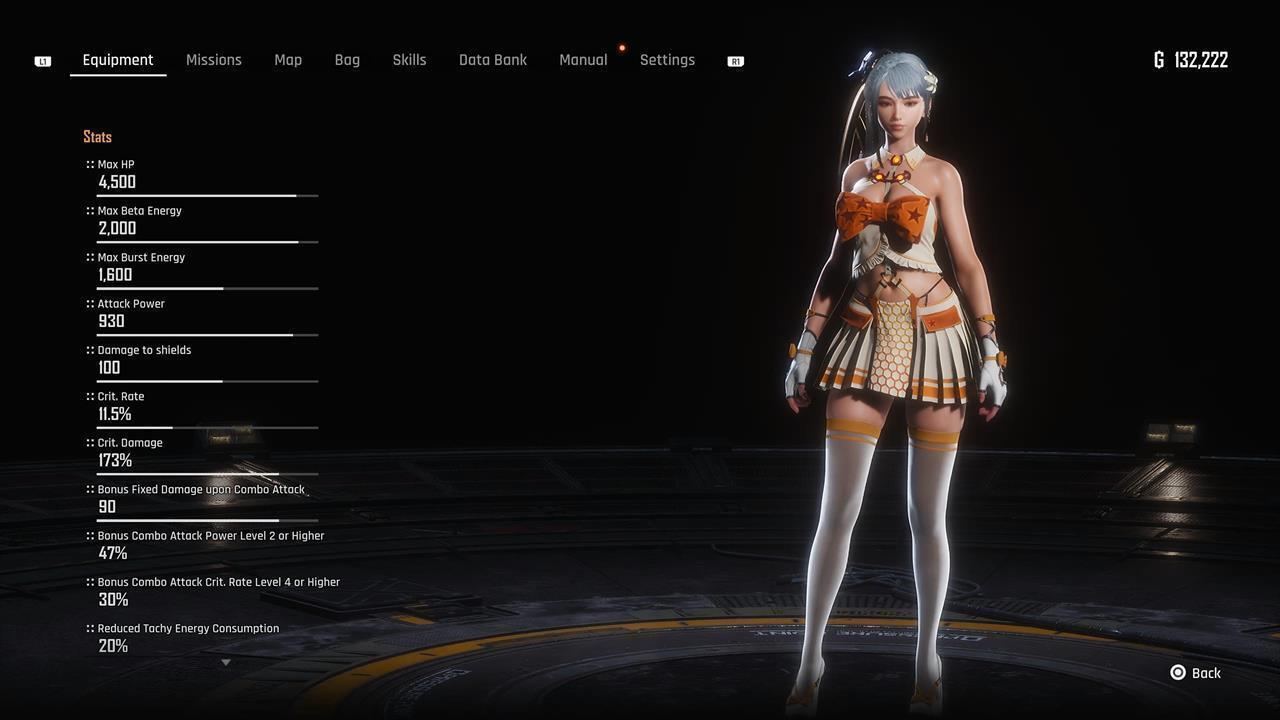
Punk Top
This is what the Punk Top get-up looks like.
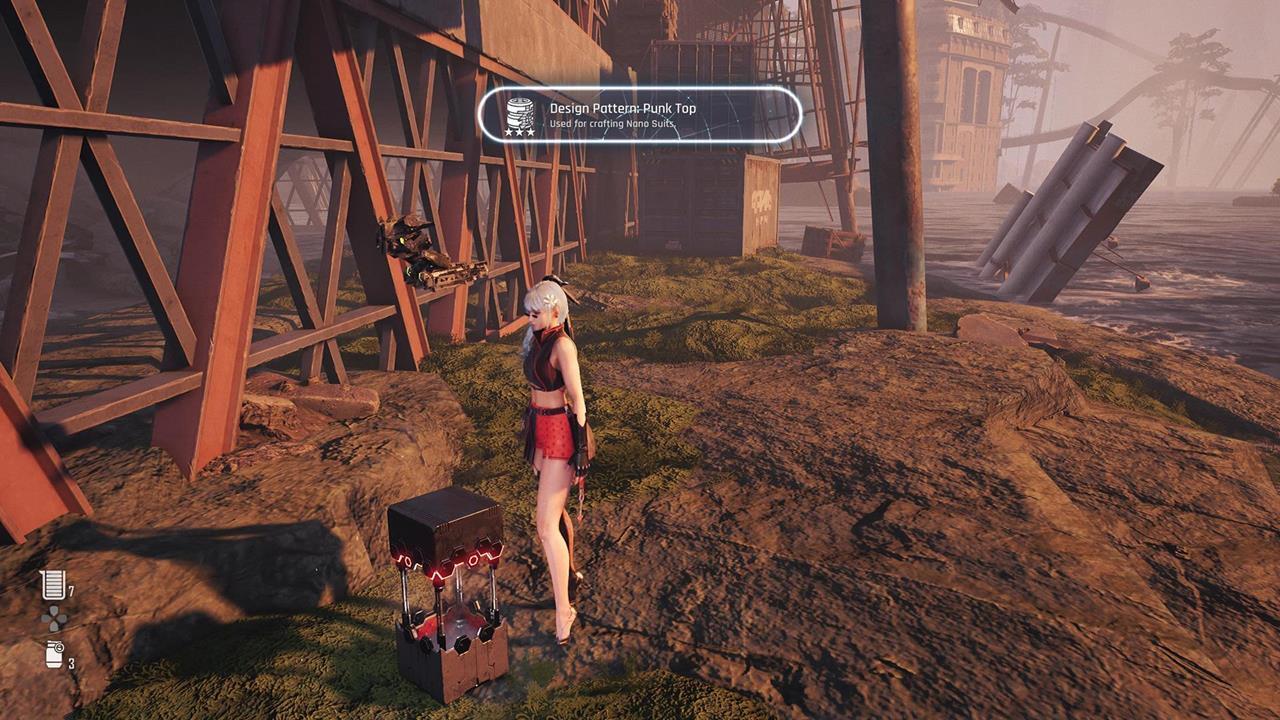
Punk Top location
Location: Eidos 9 – This is also from the Eidos 9 secret level. To get it, proceed normally through the level until you exit the large parking tower. When you’re walking along the freeway, you should see a “Sunset” sign. Hop on the walkway to reach the lower side of the parking tower. The reward is inside a container near the shore.
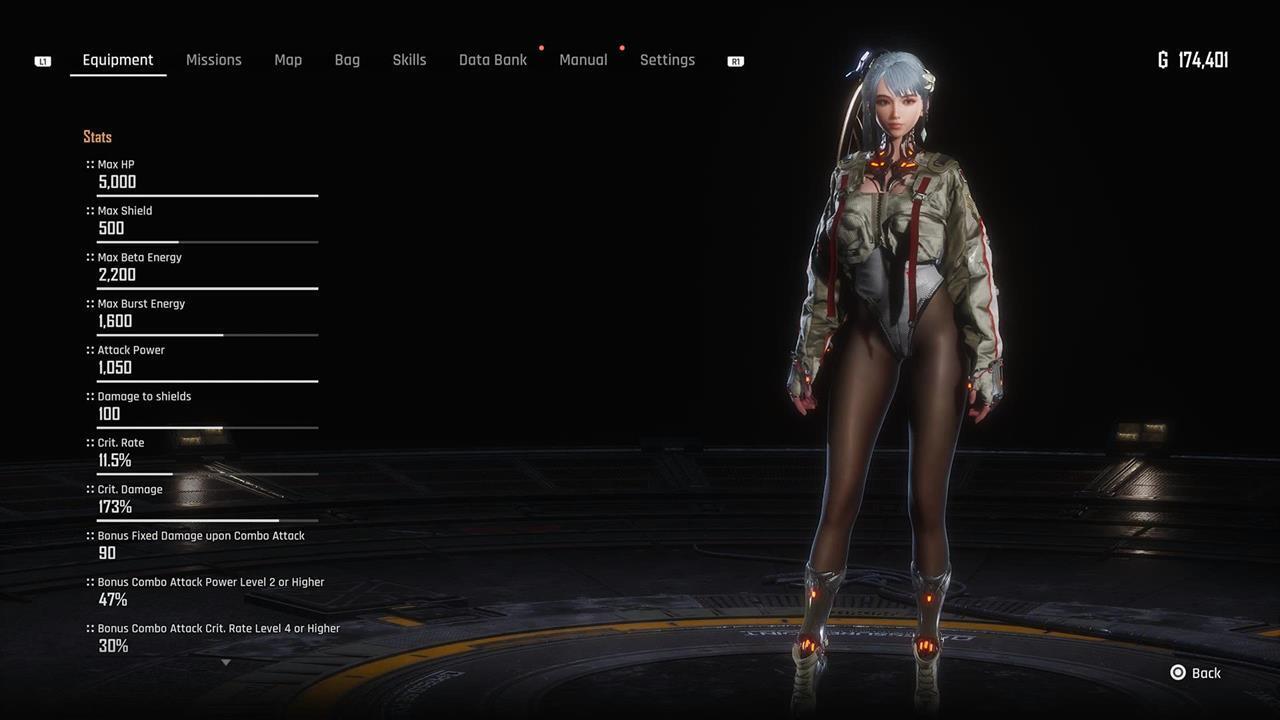
Motivation
This is what the Motivation attire looks like.
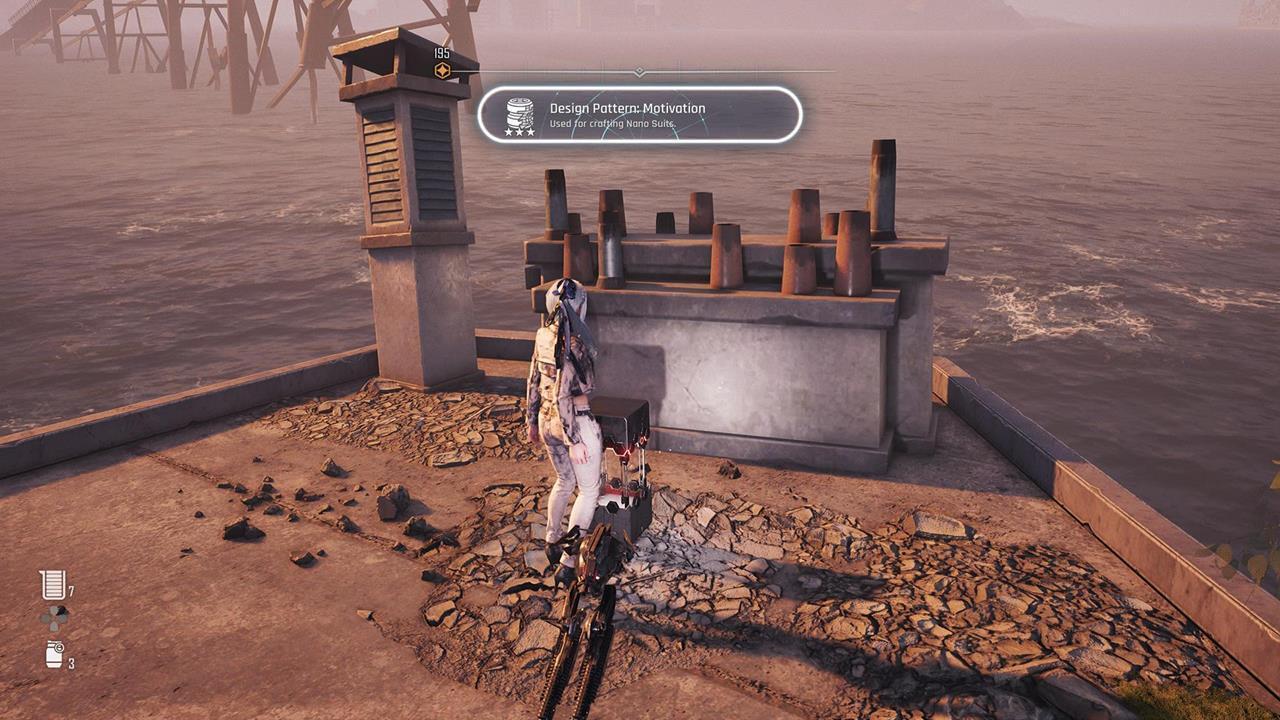
Motivation location
Location: Eidos 9 – This is the third and final outfit that you can acquire in the Eidos 9 secret level. The goal is to eliminate both sets of Cocoon clusters. After that, Lily will tell you to visit her atelier. Ride the roller coaster rails at the back of the factory until you reach a junction. There’s a partially submerged building along the way, and only the rooftop is visible. You can grab the reward from the chest on the rooftop.
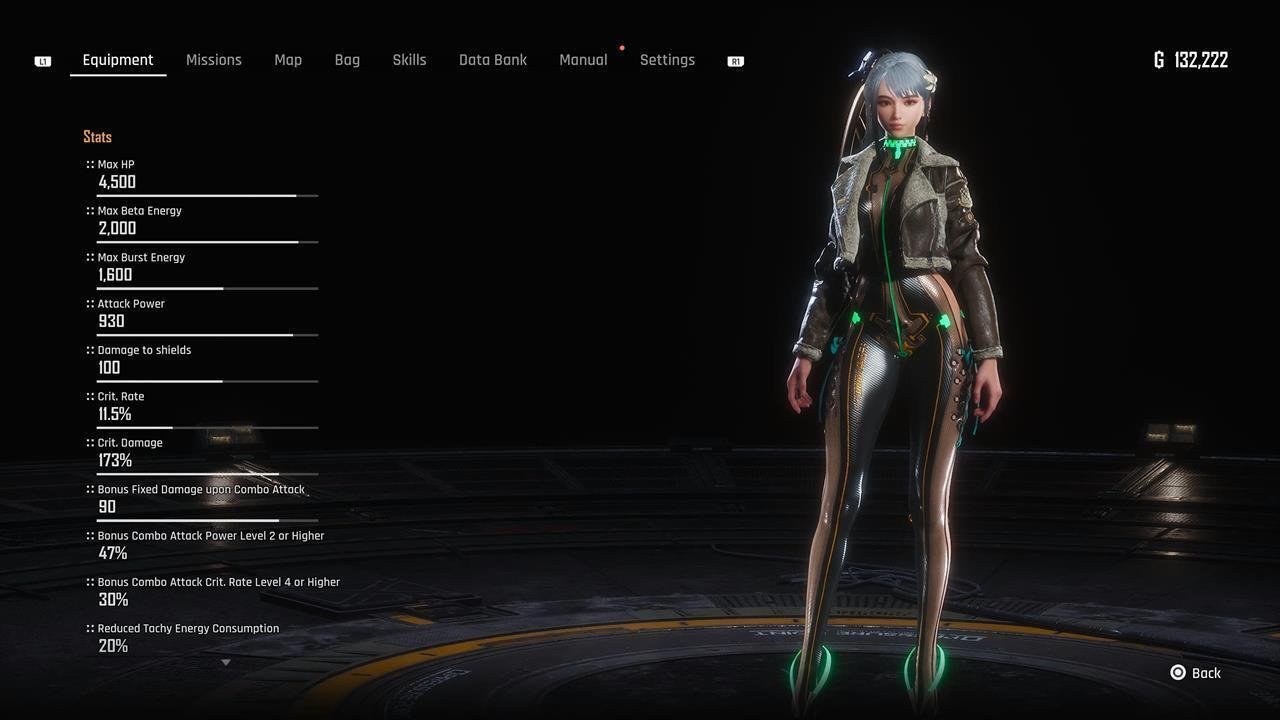
Orca Engineer
This is the design of the Orca Engineer uniform.
Orca Engineer location
Location: Spire 4 – Proceed through this stage normally until you first the Belial boss for the first time. After it escapes, climb up to tag the camp. Scan the area and you’ll see a crate just behind the metal wall/fence. Hop on the pipes to reach it.
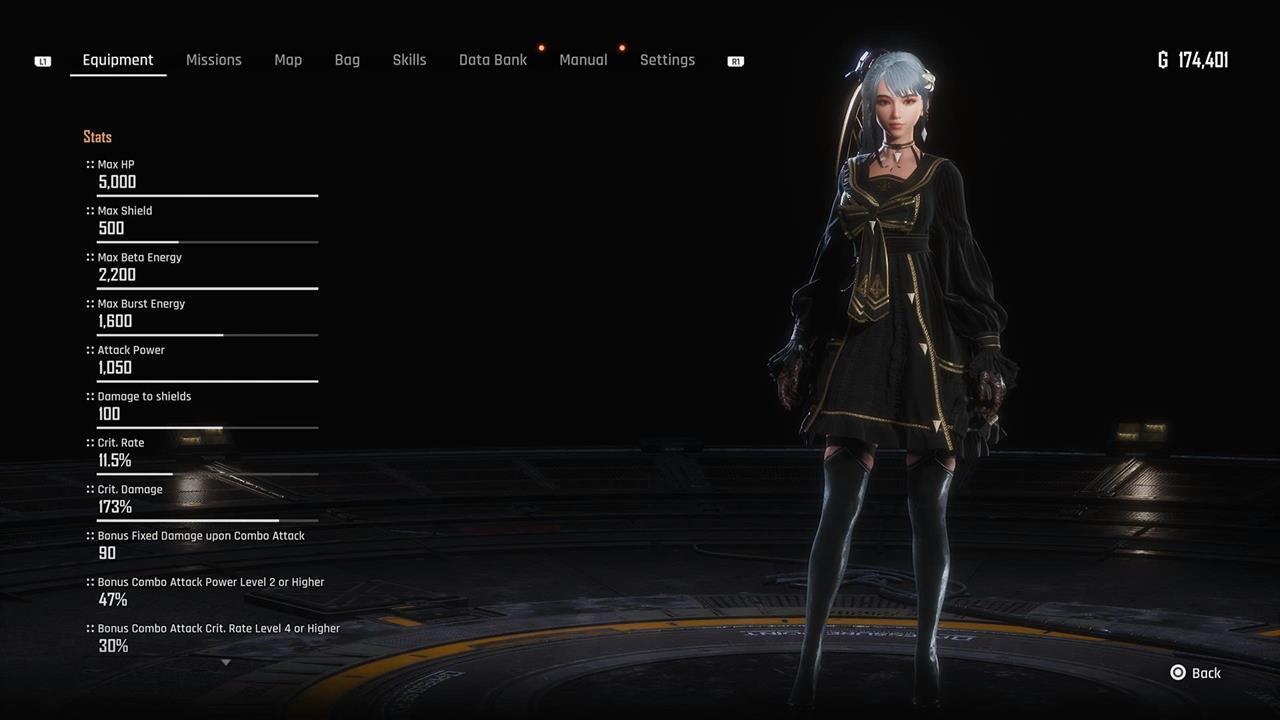
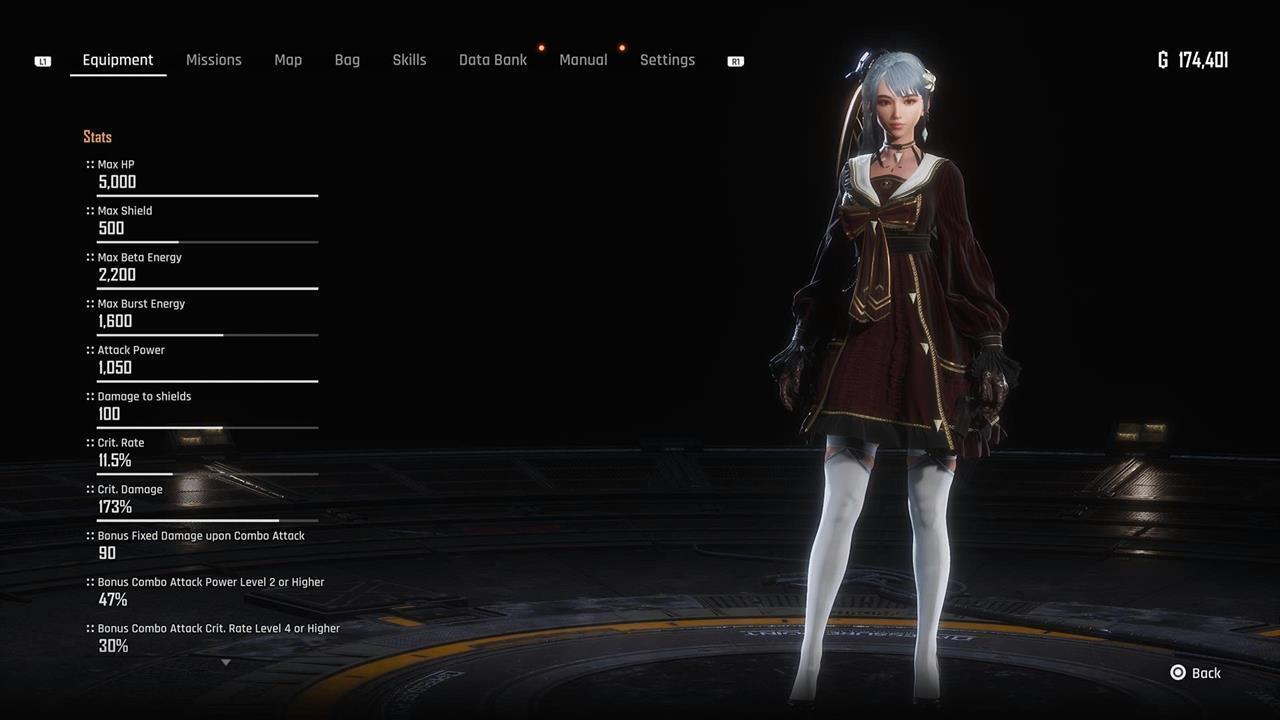
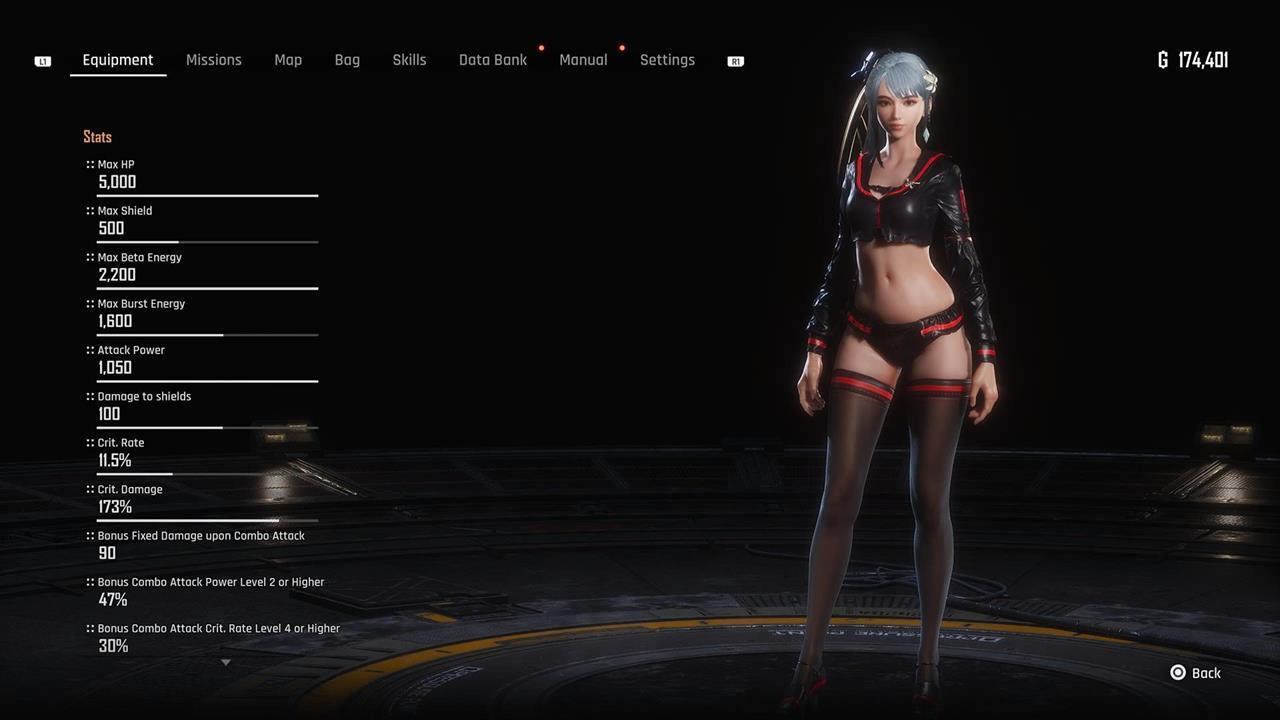
Black Rose
This is the Black Rose outfit in Stellar Blade.
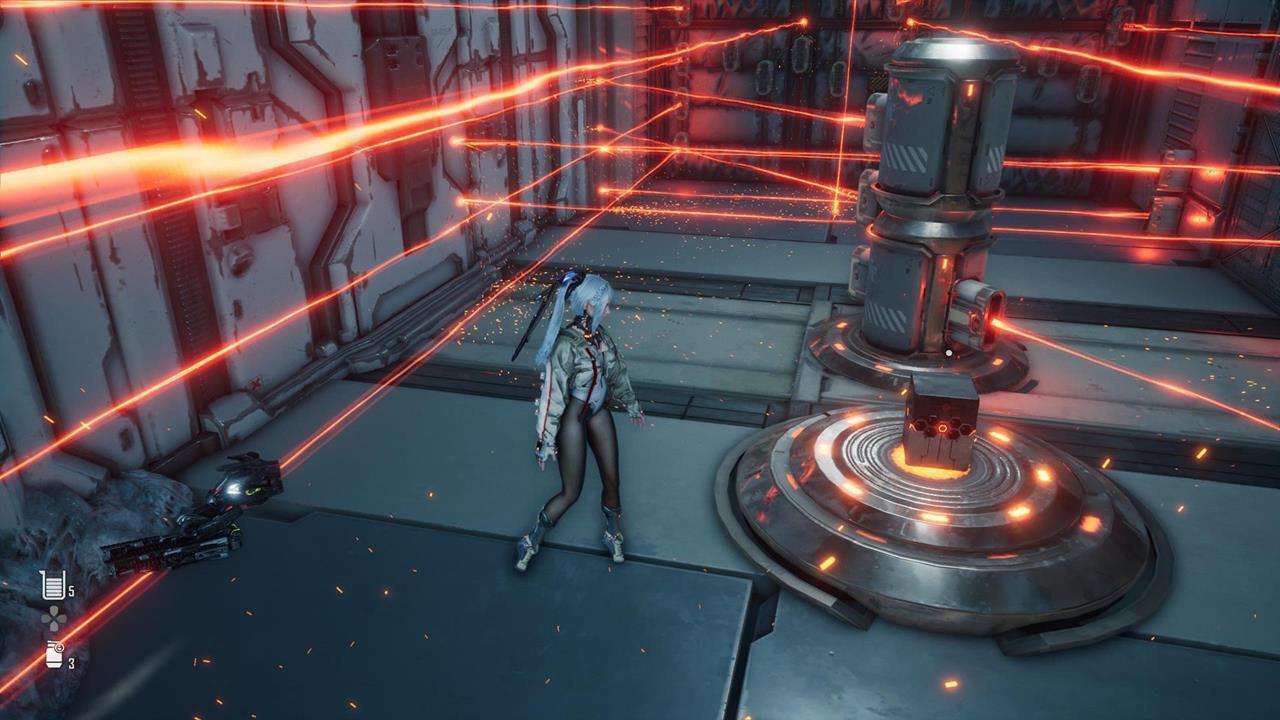
Black Rose location
Location: Spire 4 – When you reach the Raphael Space Center, you have to complete the power supply puzzle in Gate 2 (which also happens to have a Body Core upgrade). This will unlock the doors in this facility.
Head back to the main hall and check the door at the far-right. If you approach the crate, you’ll trigger the laser trap–the red lasers will instantly kill Eve if she gets hit. The idea is to walk along the left-hand side of the room, carefully making your way to the wall switch to disable the trap.
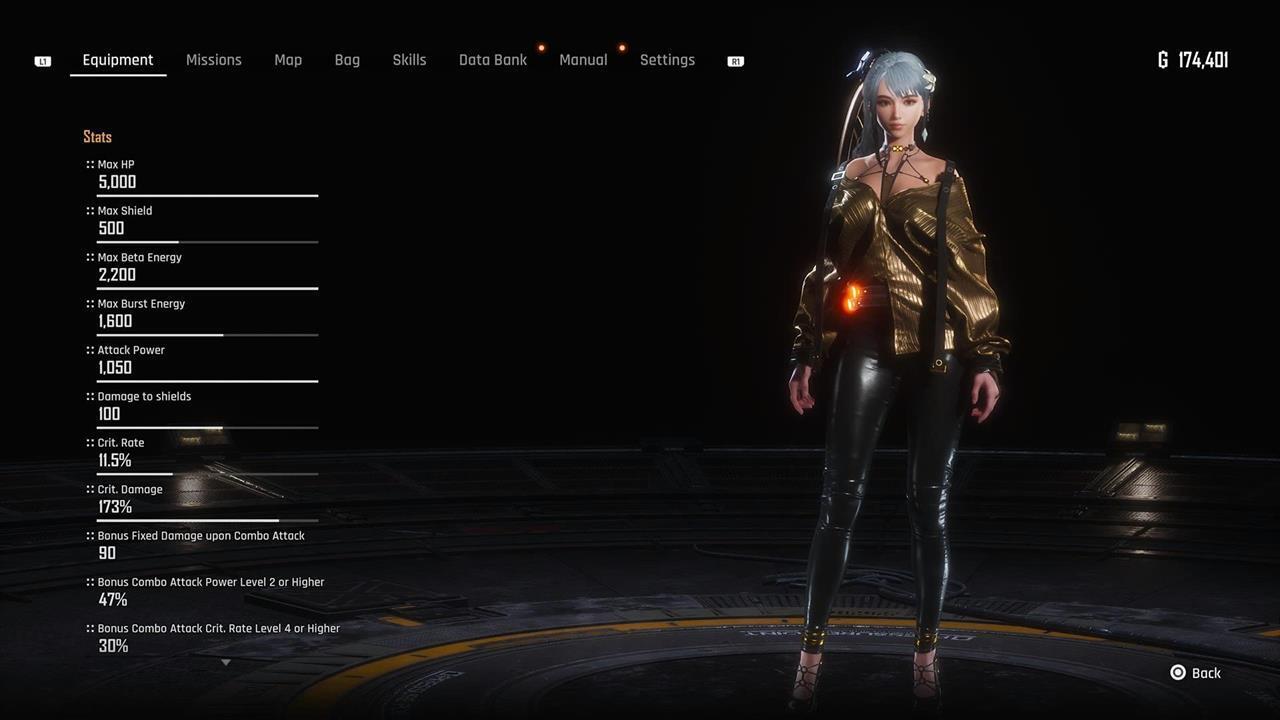
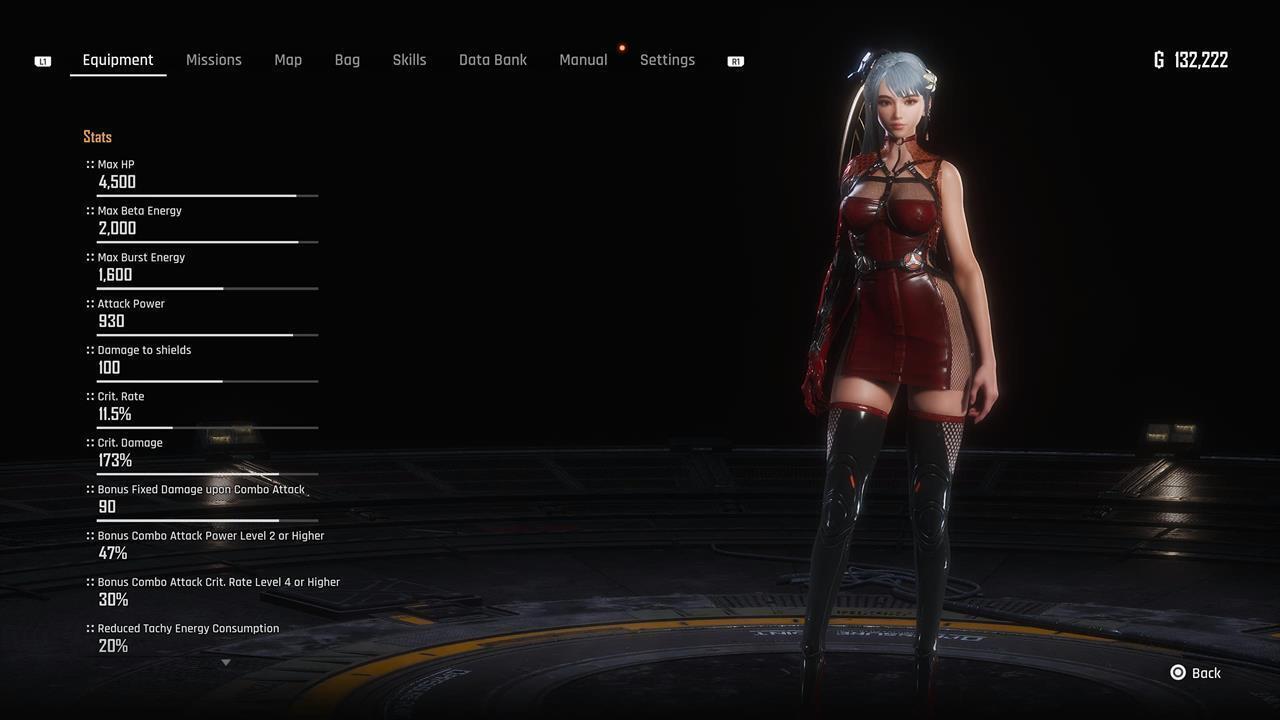
Photogenic
This is the Photogenic attire, which is perfect for fashionistas looking to slay some monsters.
Photogenic location
Location: Spire 4 – You’ll end up battling the Karakuri boss in the Prestige Lounge. Once you’ve defeated it, open the chest in the opposite room.
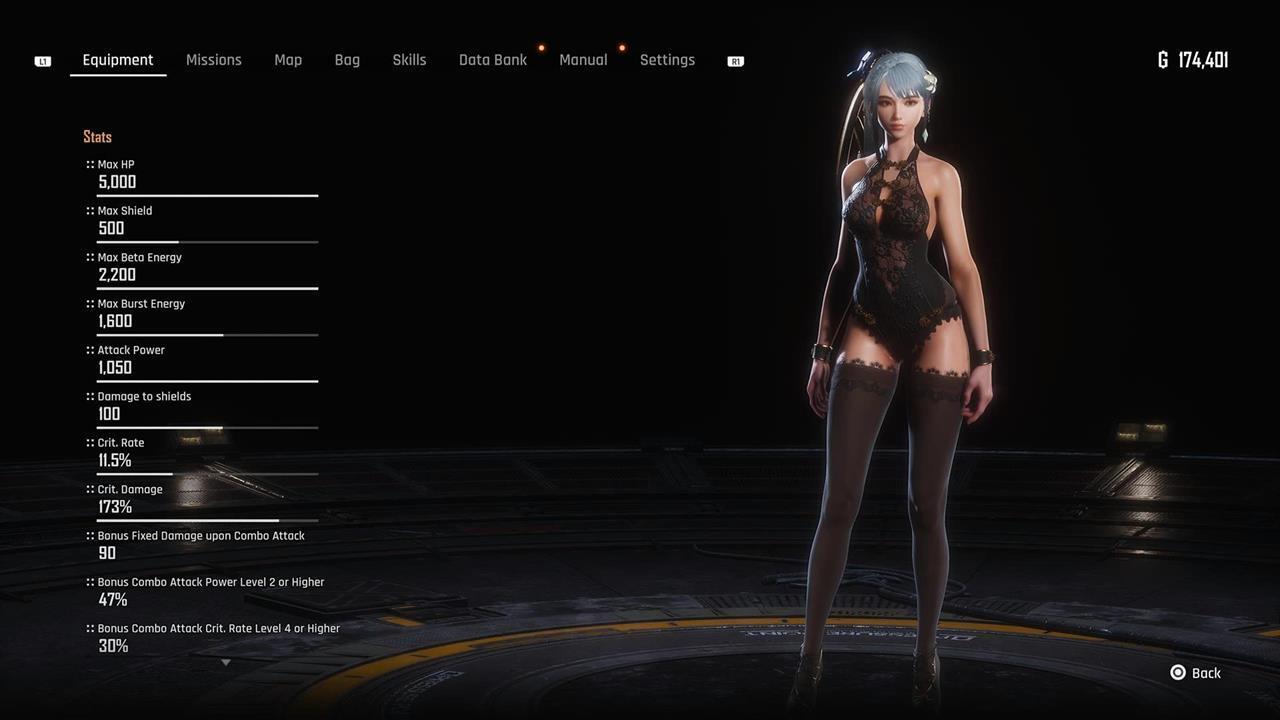
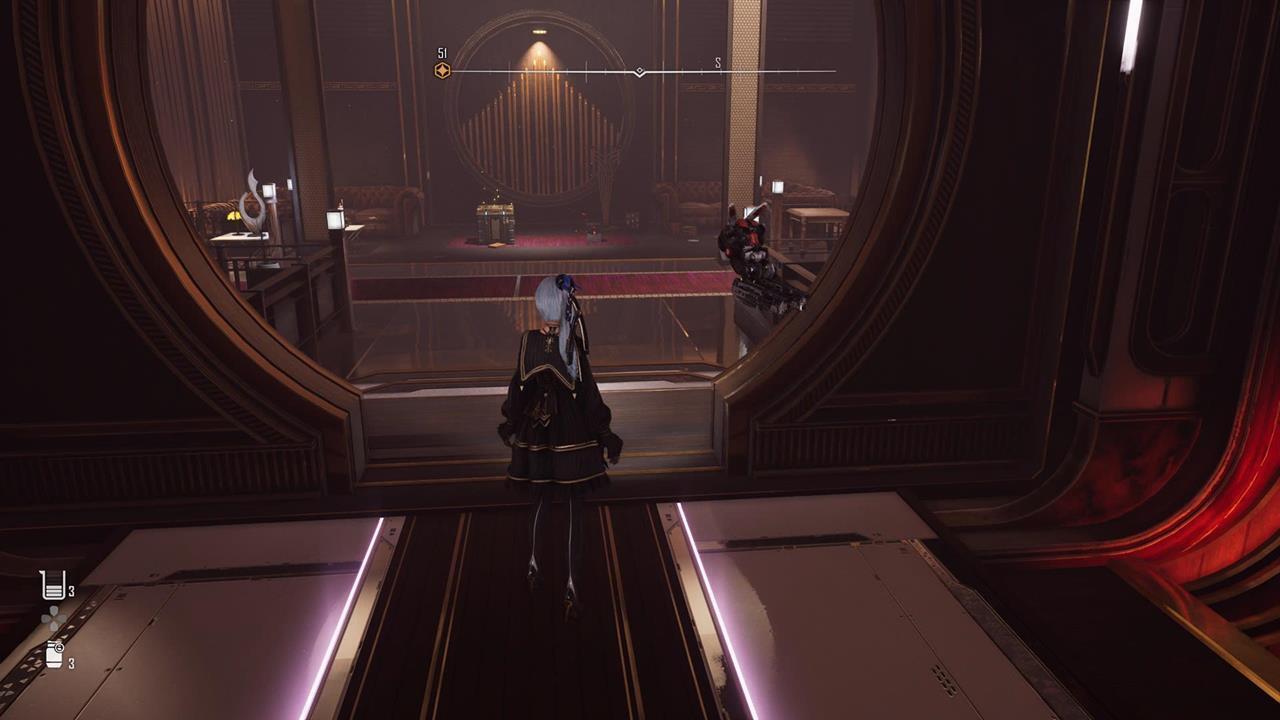
Black Pearl
Location: Xion – The Black Pearl lingerie can be yours once you’ve obtained all 49 can collectibles. This is going to take a while, so try to be patient when exploring the world. Once you’ve found everything, return to the hideout/landing pad at Xion and interact with the collectible display case.

Raven Suit
Location: New Game Plus – Regardless of the ending you get, you’ll unlock New Game Plus. When you begin your run, the Raven Suit will be automatically available and you can equip it via your inventory.
In any case, these are the Stellar Blade outfits and nano suits that you can obtain. We hope you enjoy collecting all of them during your adventure.
Stellar Blade has you facing off against vicious Naytiba, all while trying to figure out your origins. Action, thrills, and a bunch of collectibles/unlockables await. For more tips, you can visit our guides hub.